Destinations and areas › Japan
Northern Japan Alps
Japan · 26 routes · 29 huts
Routes
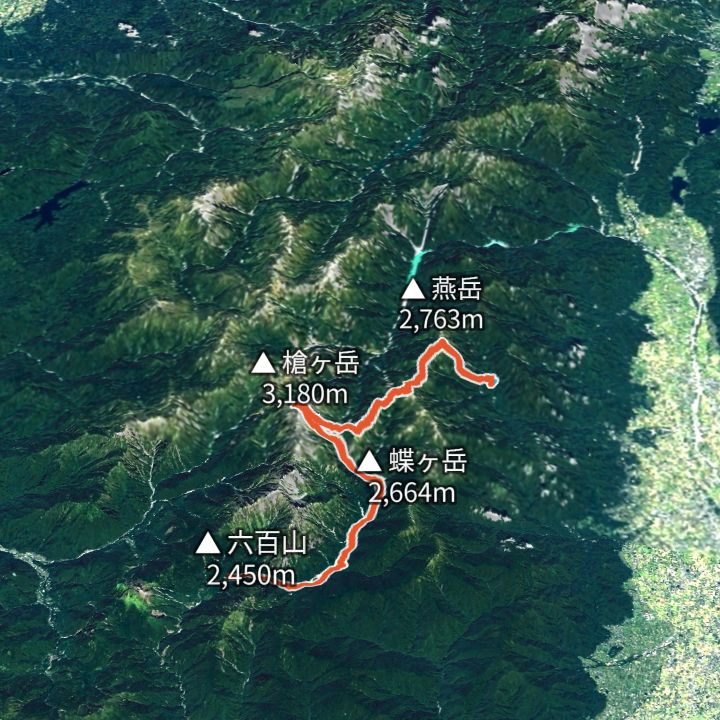 Map: GSI Japan, EOxCloudless 2025 (Copernicus Sentinel)
Yarigatake 3,180m
Omote-Ginza traverse (Nakabusa to Yari to Kamikochi)
The classic Northern Alps ridge line: up to Tsubakuro-dake, along to Daitenjo, the Higashi-Kama ridge to Yarigatake, then down the Yarisawa valley to Kamikochi.
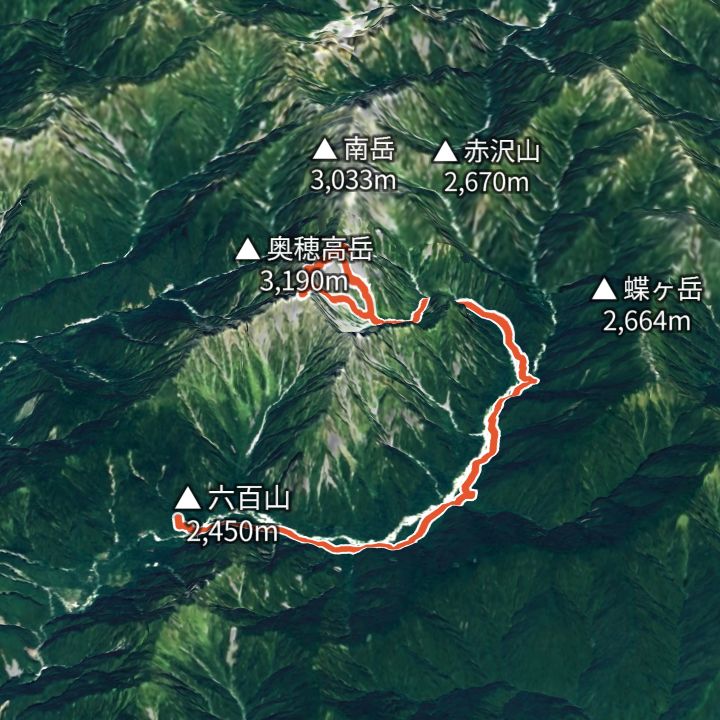 Map: GSI Japan, EOxCloudless 2025 (Copernicus Sentinel)
Okuhotakadake 3,190m
Karasawa Base: the Hotaka circuit
Walk in from Kamikochi to the Karasawa cirque, round Kita-Hotaka and Oku-Hotaka, then back down to Kamikochi.
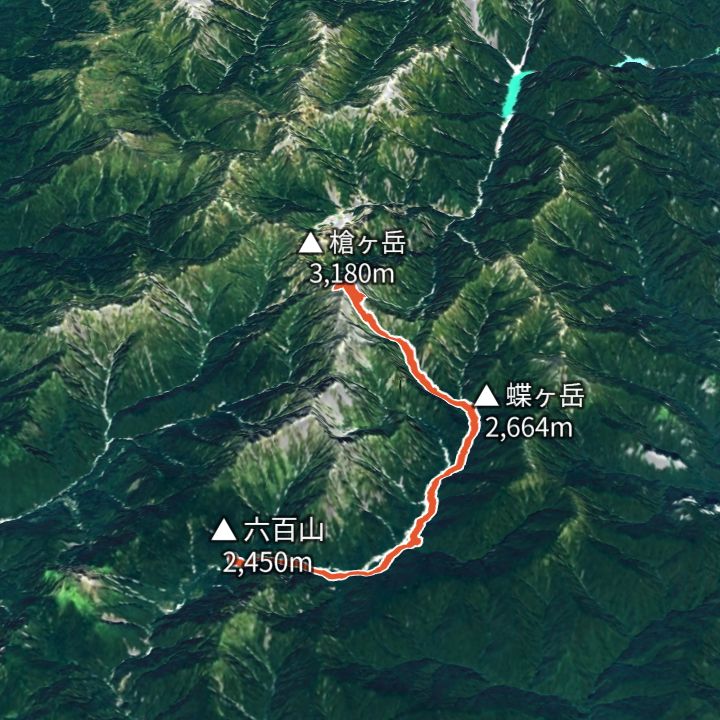 Map: GSI Japan, EOxCloudless 2025 (Copernicus Sentinel)
Yarigatake 3,180m
Yarisawa route (Kamikochi to Yarigatake and back)
The valley route to Yari: up the Azusa river to Yokoo, the Yarisawa ravine to the spire, and back the same way.
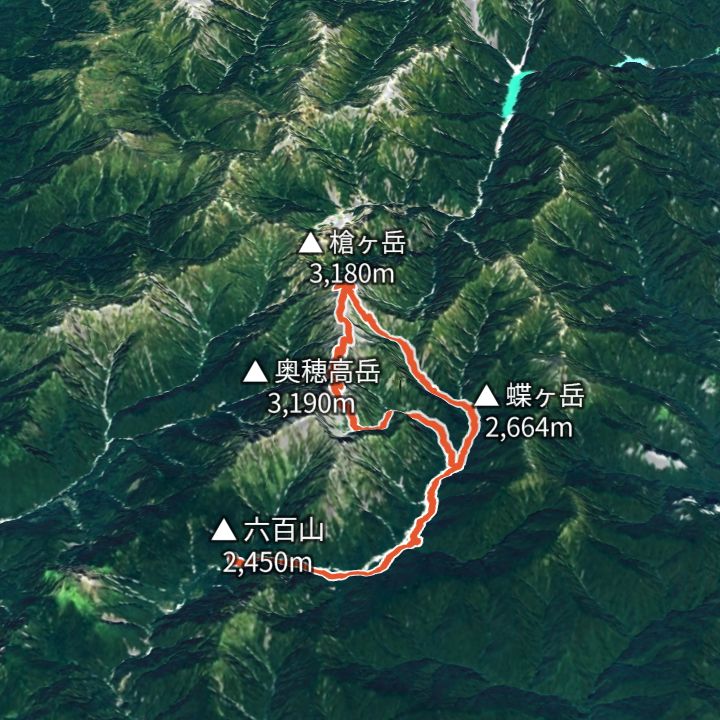 Map: GSI Japan, EOxCloudless 2025 (Copernicus Sentinel)
Yarigatake 3,180m
Daikiretto loop from Kamikochi (Kita-Hotaka to Yari)
From Kamikochi via Karasawa to Kita-Hotaka, over the Daikiretto notch to Minamidake and Yari, then down the Yarisawa valley to Kamikochi. The most exposed ridge in the range.
 Map: GSI Japan, EOxCloudless 2025 (Copernicus Sentinel)
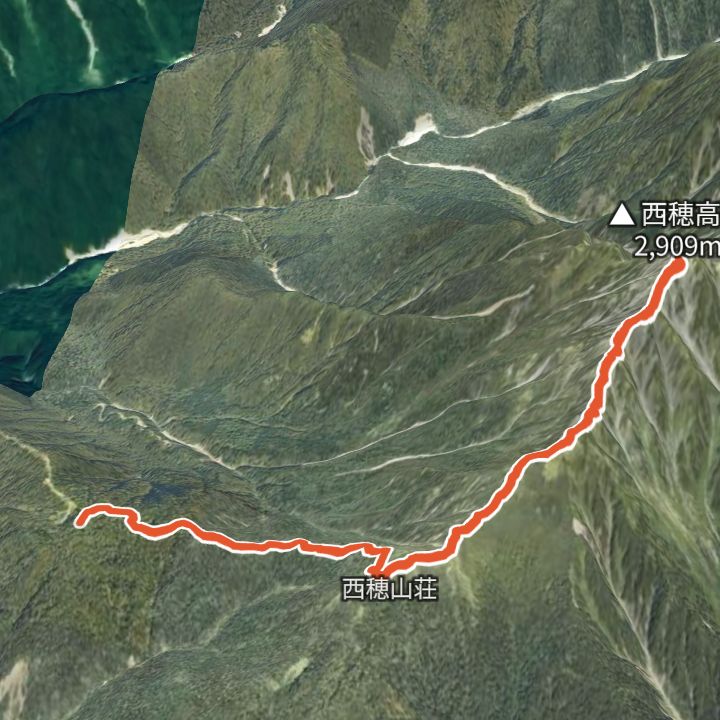
Nishihotakadake 2,909m
Nishihotakadake from the Shinhotaka Ropeway
Ride the Shinhotaka Ropeway up to Nishihotakaguchi (2,156 m), walk to Nishiho Sanso, then over the Dokuhyo knoll to the Nishihotakadake summit (2,909 m) and back the same way.
 Map: GSI Japan, EOxCloudless 2025 (Copernicus Sentinel)
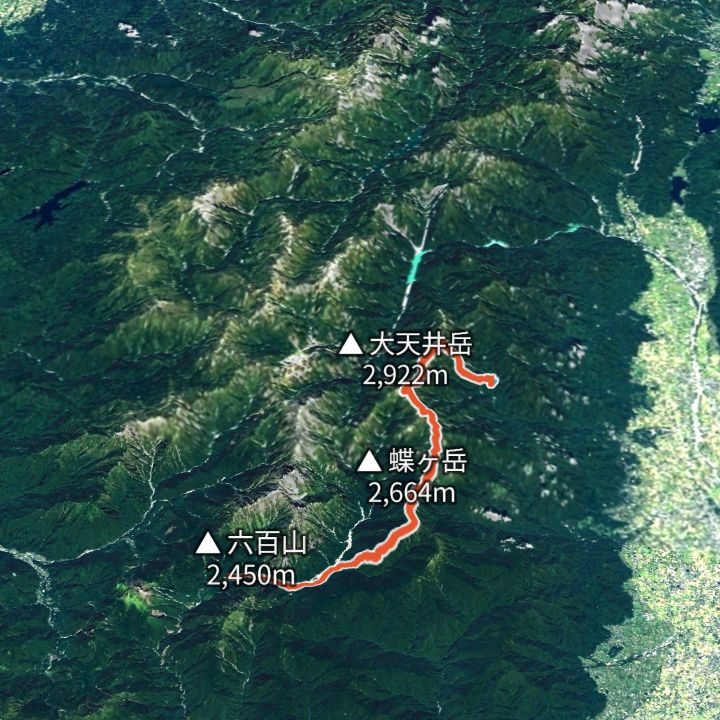
Daitenso 2,870m
Jonen ridge: Nakabusa to Kamikochi
The parallel ridge: Tsubakuro, Otensho, Jonen and Chogatake, facing Yari and Hotaka the whole way, then down to Tokusawa.
 Map: GSI Japan, EOxCloudless 2025 (Copernicus Sentinel)
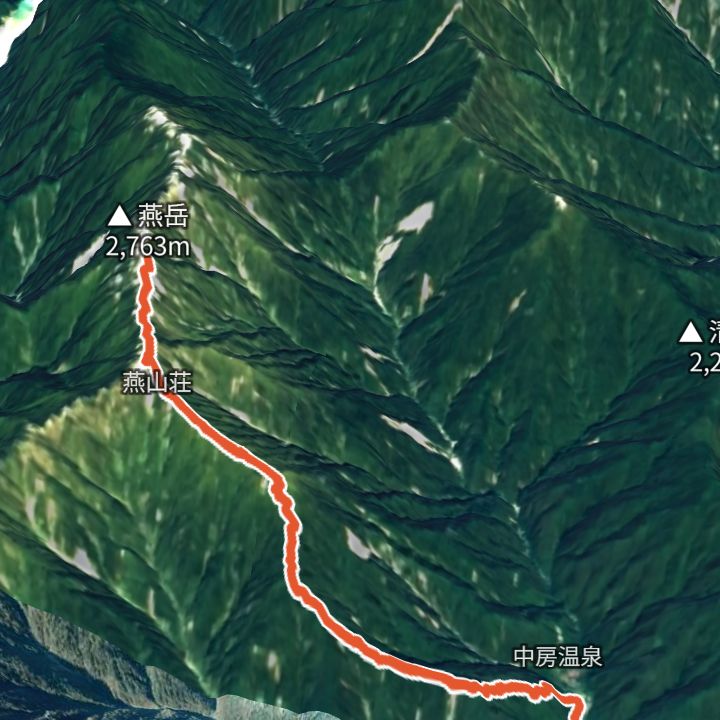
Tsubakurodake 2,763m
Tsubakurodake from Nakabusa Onsen
Up the Kassen ridge from Nakabusa Onsen to Enzanso, then out and back to the Tsubakurodake summit.
 Map: GSI Japan, EOxCloudless 2025 (Copernicus Sentinel)
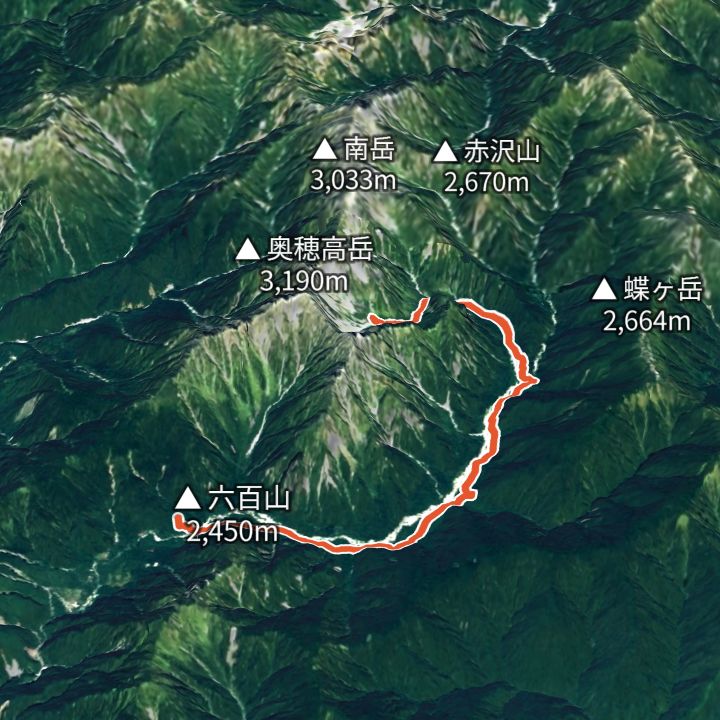
Karasawa-goya 2,350m
Karasawa from Kamikochi
Along the Azusa river from Kamikochi via Tokusawa and Yokoo, then up the Yokoo valley to the Karasawa cirque below the Hotaka walls.
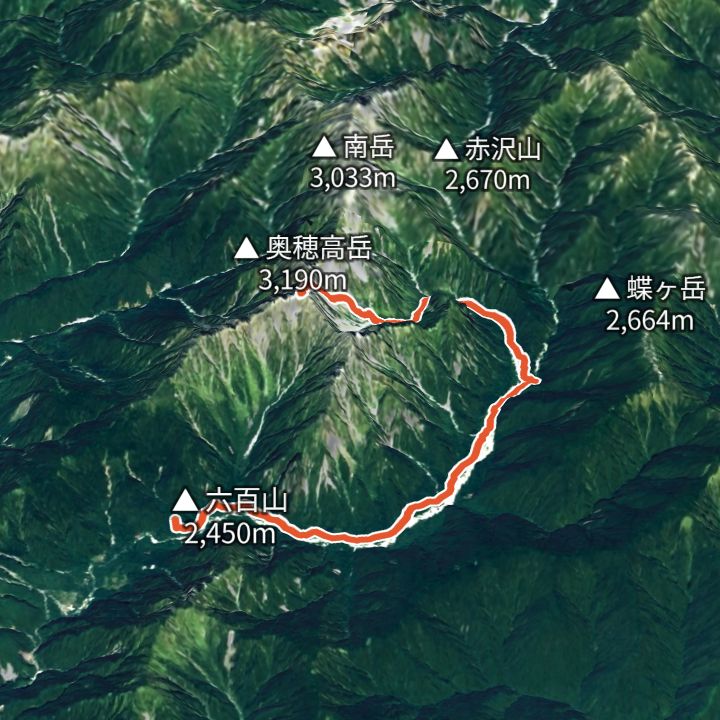 Map: GSI Japan, EOxCloudless 2025 (Copernicus Sentinel)
Okuhotakadake 3,190m
Okuhotakadake via Karasawa
From Kamikochi via Yokoo and Karasawa, up the Zaitengrat to Hotakadake Sanso, then out and back to the Okuhotakadake summit.
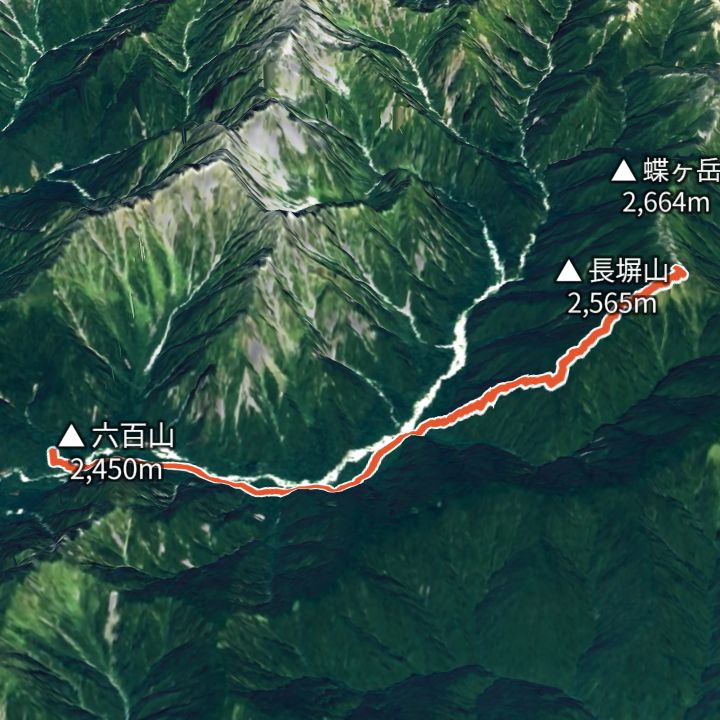 Map: GSI Japan, EOxCloudless 2025 (Copernicus Sentinel)
Chougatake 2,677m
Chougatake via the Nagakabe ridge
From Kamikochi to Tokusawa, then up the Nagakabe ridge to Chougatake Hutte, facing Yari and Hotaka across the valley.
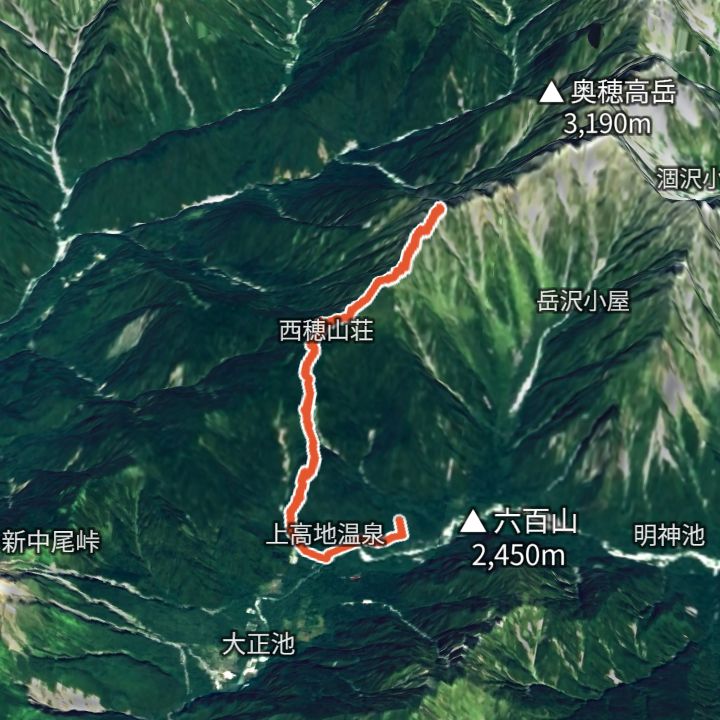 Map: GSI Japan, EOxCloudless 2025 (Copernicus Sentinel)
Nishihotakadake 2,909m
Nishihotakadake from Kamikochi
From Kamikochi up to Nishiho Sanso, then out and back to the Nishihotakadake summit.
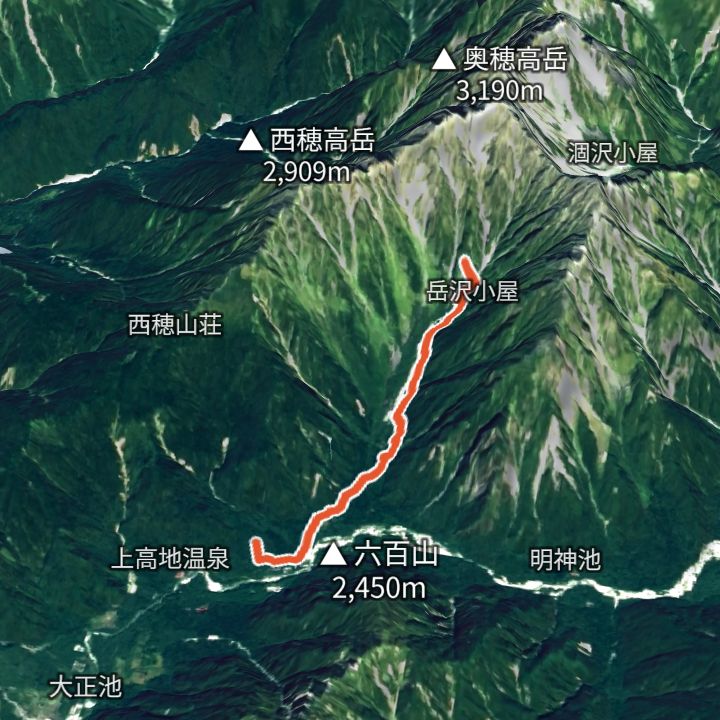 Map: GSI Japan, EOxCloudless 2025 (Copernicus Sentinel)
Kamikochi 1,500m
Dakesawa from Kamikochi
From Kamikochi up the Dakesawa valley to Dakesawa Goya, under the Hotaka walls.
 Map: GSI Japan, EOxCloudless 2025 (Copernicus Sentinel)
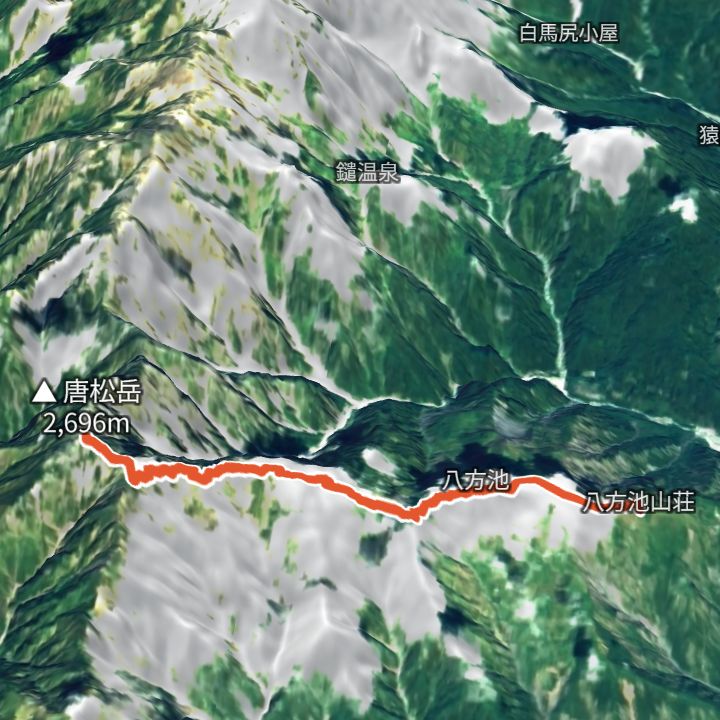
Karamatsudake 2,696m
Karamatsudake from Happo-ike Sanso
Ride the Happo Alpen Line (gondola and lifts) to Happo-ike Sanso, walk past Happo pond to Karamatsudake (2,696 m), and back.
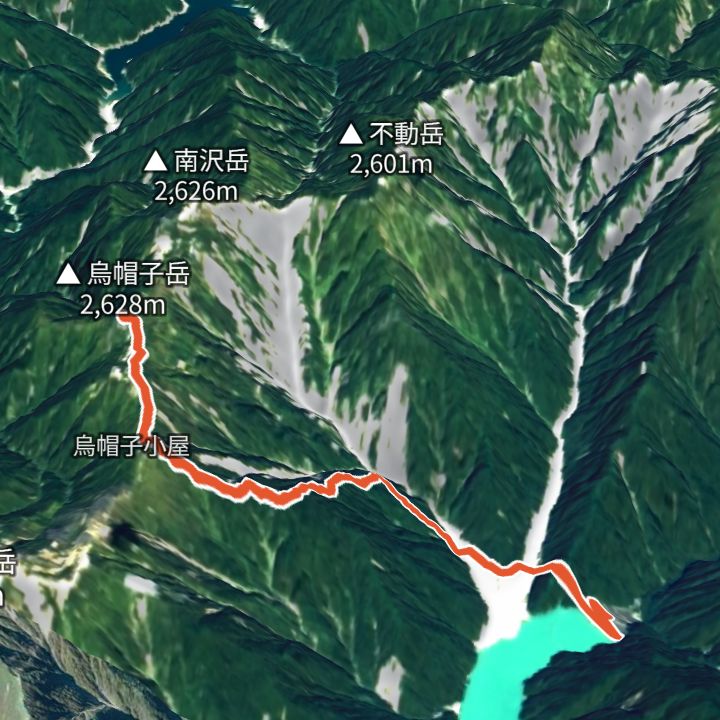 Map: GSI Japan, EOxCloudless 2025 (Copernicus Sentinel)
Eboshidake 2,628m
Eboshidake from Takase Dam
From Takase Dam (1,271 m) up to Eboshidake (2,628 m) and back the same way.
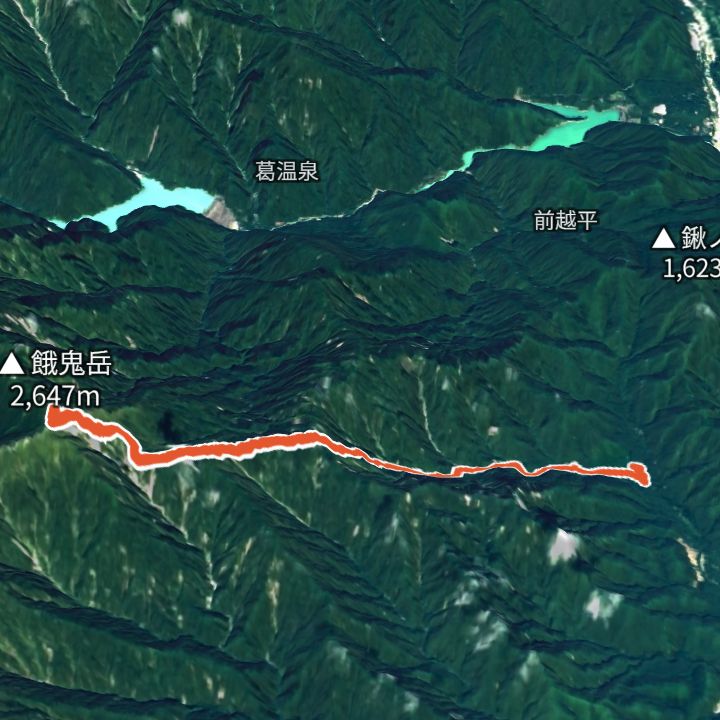 Map: GSI Japan, EOxCloudless 2025 (Copernicus Sentinel)
Gakidake 2,647m
Gakidake from Shirasawa trailhead
From Shirasawa trailhead (994 m) up to Gakidake (2,647 m) and back the same way.
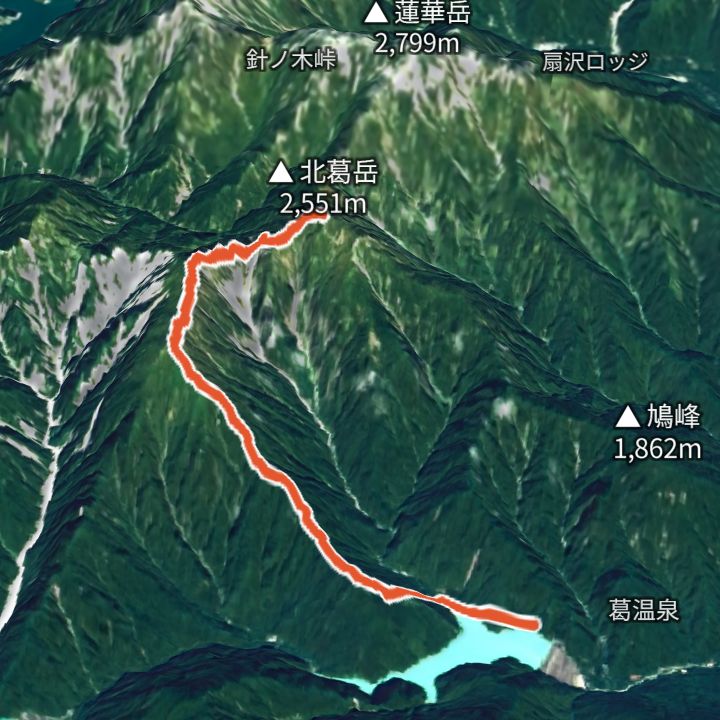 Map: GSI Japan, EOxCloudless 2025 (Copernicus Sentinel)
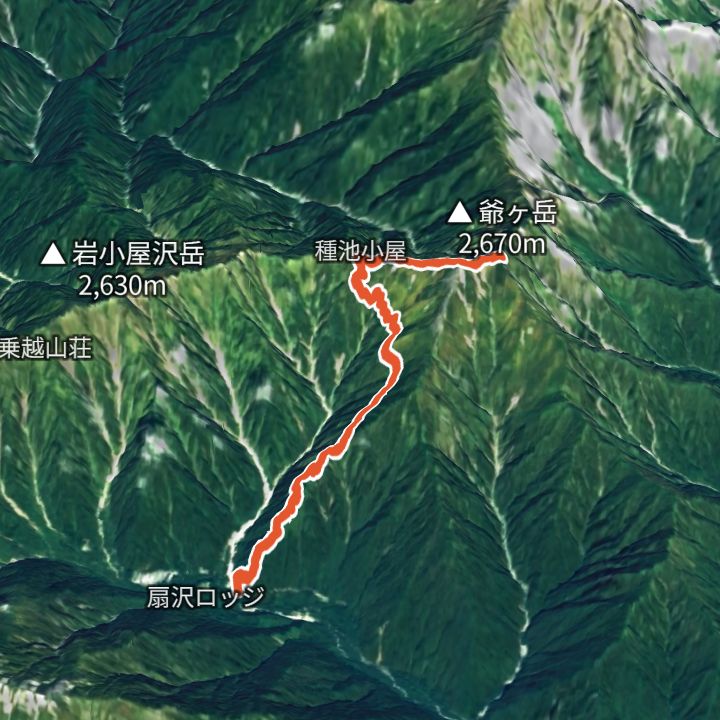
Kitakuzudake 2,551m
Kitakuzudake from Nanakura
From Nanakura (1,063 m) up to Kitakuzudake (2,551 m) and back the same way.
 Map: GSI Japan, EOxCloudless 2025 (Copernicus Sentinel)
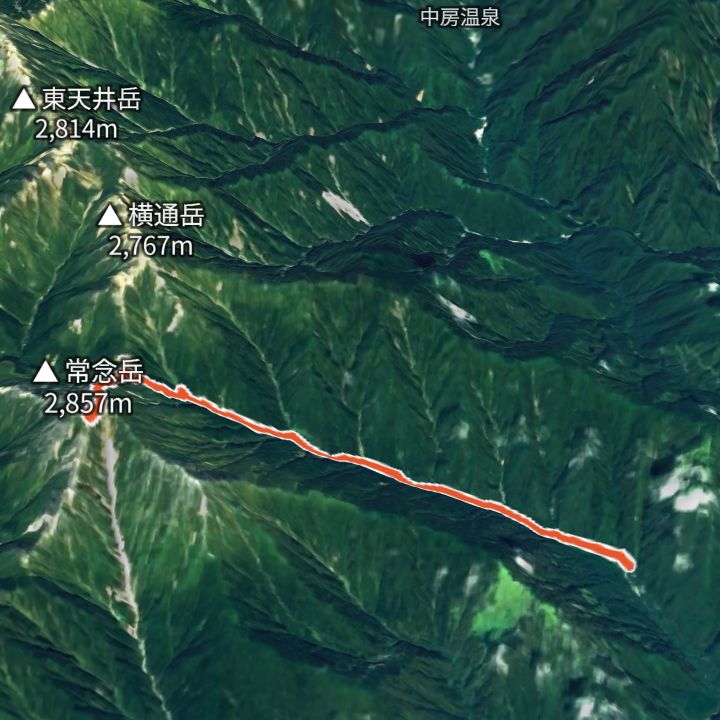
Jiigatake 2,670m
Jiigatake from Ogizawa (Jiigatake trailhead)
From Ogizawa (Jiigatake trailhead) (1,338 m) up to Jiigatake (2,670 m) and back the same way.
 Map: GSI Japan, EOxCloudless 2025 (Copernicus Sentinel)
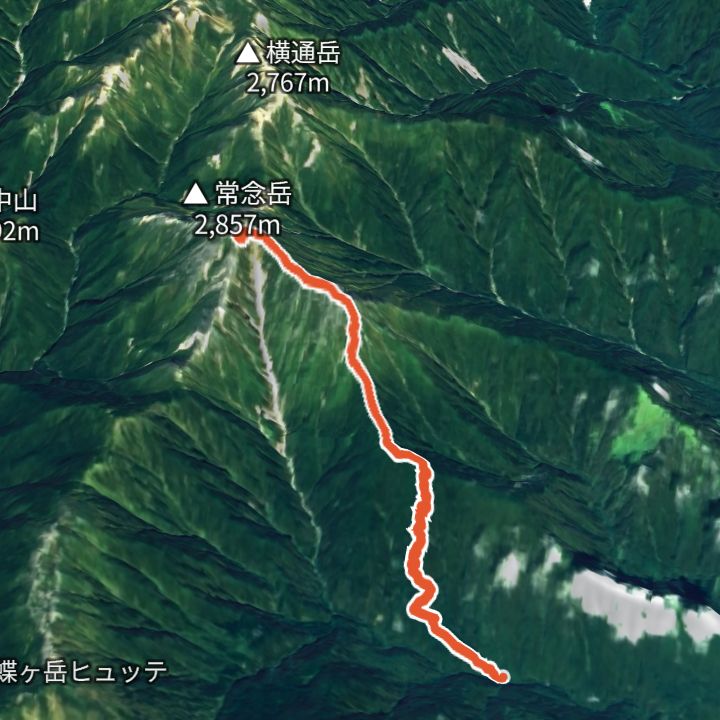
Jonendake 2,857m
Jonendake from Ichinosawa
From Ichinosawa (1,329 m) up to Jonendake (2,857 m) and back the same way.
 Map: GSI Japan, EOxCloudless 2025 (Copernicus Sentinel)
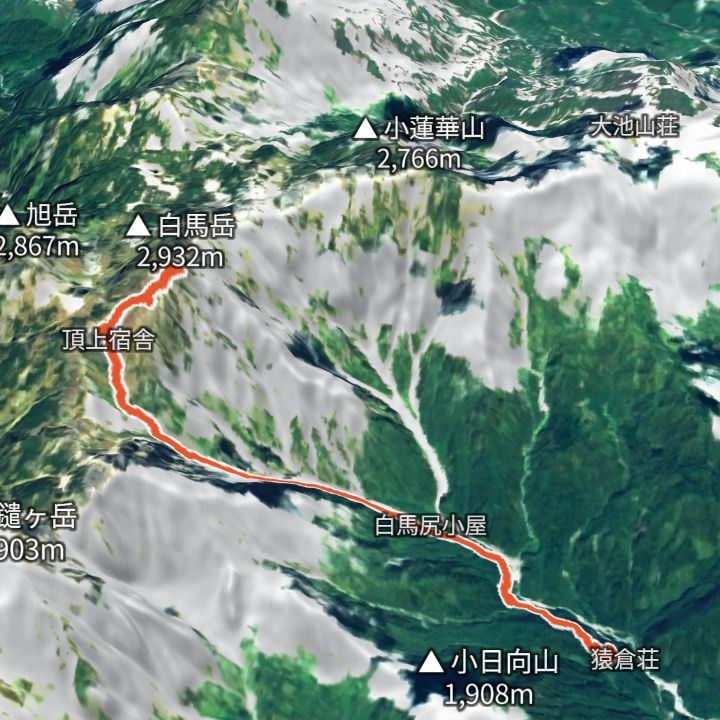
Jonendake 2,857m
Jonendake from Mitsumata
From Mitsumata (1,359 m) up to Jonendake (2,857 m) and back the same way.
 Map: GSI Japan, EOxCloudless 2025 (Copernicus Sentinel)
Shiroumadake 2,932m
Shiroumadake from Sarukura
From Sarukura (1,242 m) up to Shiroumadake (2,932 m) and back the same way.
 Map: GSI Japan, EOxCloudless 2025 (Copernicus Sentinel)
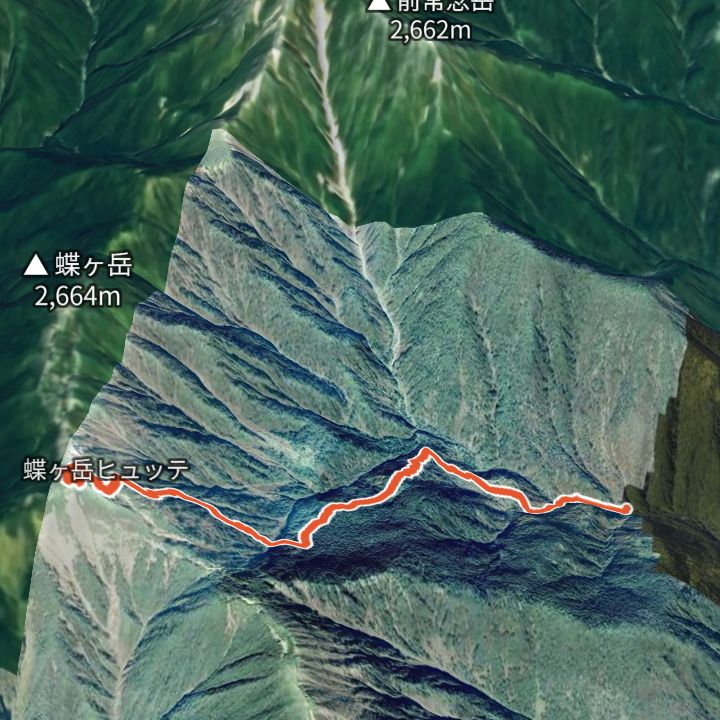
Chougatake 2,664m
Chougatake from Mitsumata
From Mitsumata (1,359 m) up to Chougatake (2,664 m) and back the same way.
 Map: GSI Japan, EOxCloudless 2025 (Copernicus Sentinel)
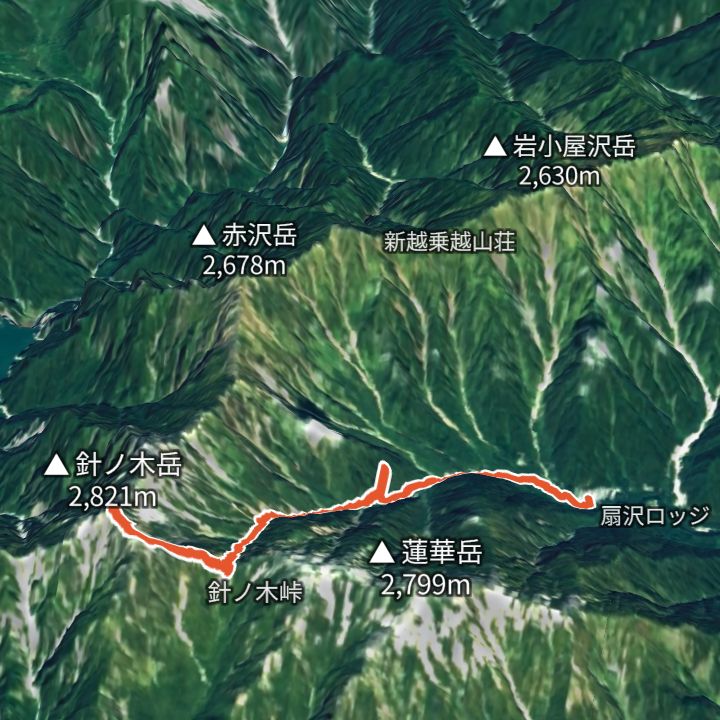
Harinokidake 2,821m
Harinokidake from Ogizawa
From Ogizawa (1,418 m) up to Harinokidake (2,821 m) and back the same way.
 Map: GSI Japan, EOxCloudless 2025 (Copernicus Sentinel)
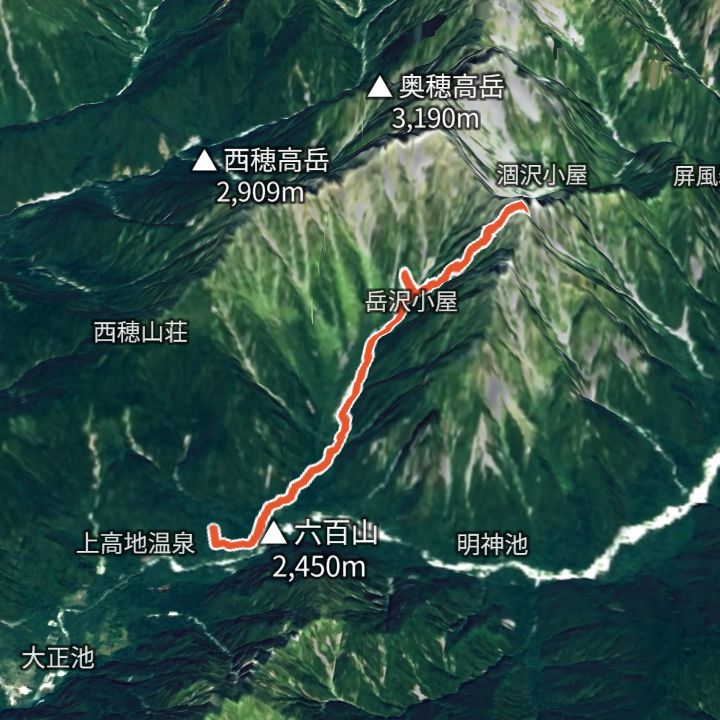
Maehotakadake 3,090m
Maehotakadake from Kamikochi
From Kamikochi (1,504 m) up to Maehotakadake (3,090 m) and back the same way.
 Map: GSI Japan, EOxCloudless 2025 (Copernicus Sentinel)
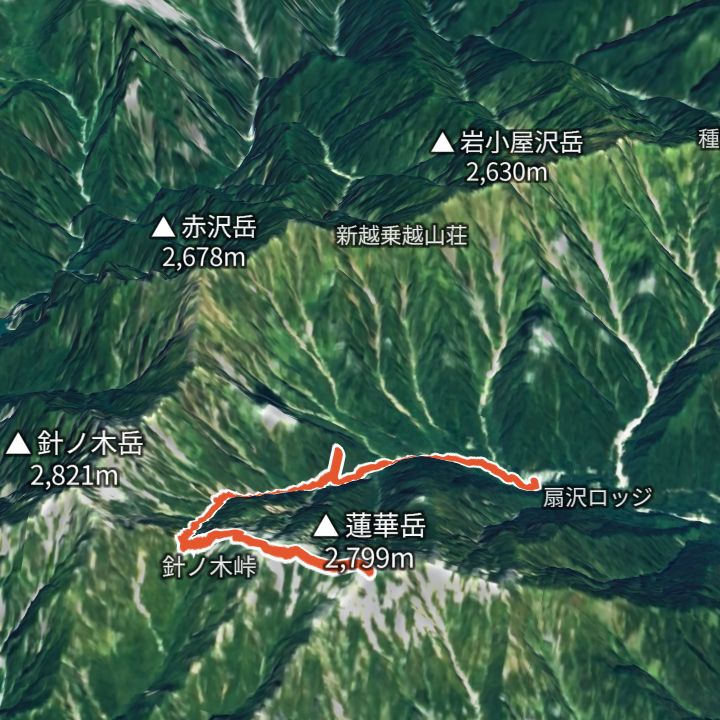
Rengedake 2,799m
Rengedake from Ogizawa
From Ogizawa (1,418 m) up to Rengedake (2,799 m) and back the same way.
 Map: GSI Japan, EOxCloudless 2025 (Copernicus Sentinel)
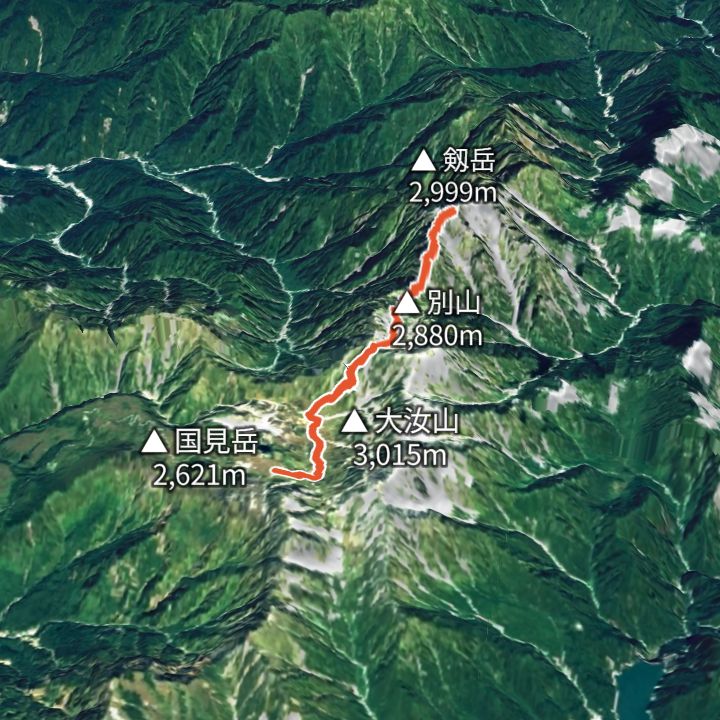
Tsurugidake 2,999m
Tsurugidake from Murodo Terminal
From Murodo Terminal (2,450 m) up the Betsuzan ridge to Tsurugidake (2,999 m) and back the same way.
 Map: GSI Japan, EOxCloudless 2025 (Copernicus Sentinel)
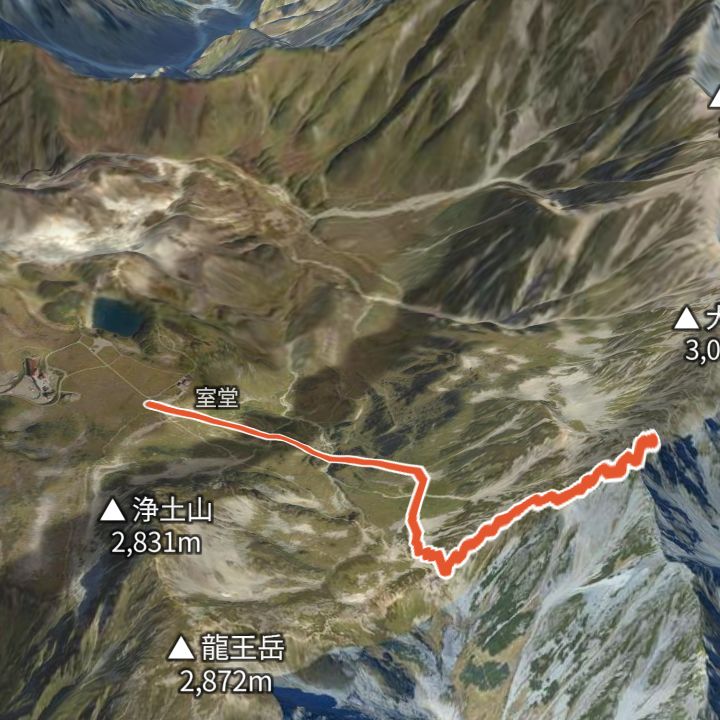
Oyama 3,003m
Oyama from Murodo Terminal
From Murodo Terminal (2,450 m) via Ichinokoshi up to Oyama (3,003 m), the main summit of Tateyama, and back the same way.
Mountain huts
- Kitahotaka-goya (北穂高小屋) 3,100m / 28 Apr – 3 Nov
- Hotakadake Sanso (穂高岳山荘) 2,996m / 27 Apr – 3 Nov
- Hutte Oyari (ヒュッテ大槍) 2,884m / 1 Jul – 12 Oct
- Daitenso (大天荘) 2,870m / 13 Jun – 3 Nov
- Hakuba Sanso (白馬山荘) 2,832m / 25 Apr – 12 Oct
- Hakubadake Chojo Shukusha (村営白馬岳頂上宿舎) 2,730m / 27 Jun – 27 Sep
- Enzanso (燕山荘) 2,712m / 25 Apr – 22 Nov
- Hutte Nishidake (ヒュッテ西岳) 2,680m / 10 Jul – 11 Oct
- Karamatsudake Chojo Sanso (唐松岳頂上山荘) 2,620m / Not confirmed
- Harinoki-goya (針ノ木小屋) 2,536m / 1 Jul – 27 Sep
- Jonen-goya (常念小屋) 2,450m / 27 Apr – 3 Nov
- Taneike Sanso (種池山荘) 2,450m / 1 Jul – 17 Oct
- Nishiho Sanso (西穂山荘) 2,367m / Open all year
- Karasawa-goya (涸沢小屋) 2,350m / 27 Apr – 3 Nov
- Happo-ike Sanso (村営八方池山荘) 1,850m / Open all year
- Osawa-goya (大沢小屋) 1,700m / Not confirmed
- Yokoo Sanso (横尾山荘) 1,620m / 27 Apr – 3 Nov
- Tokusawaen (徳澤園) 1,560m / 25 Apr – 3 Nov
- Nakabusa Onsen (中房温泉) 1,461m / 25 Apr – 23 Nov
- Ariakeso (有明荘) 1,380m / 24 Apr – 3 Nov
- Sarukura-so (猿倉荘) 1,250m / 27 Jun – 26 Sep
- Minamidake-goya (南岳小屋) Elevation not confirmed / 11 Jul – 11 Oct
- Otensho Hutte (大天井ヒュッテ) Elevation not confirmed / 11 Jul – 11 Oct
- Dakesawa-goya (岳沢小屋) Elevation not confirmed / 27 Apr – 3 Nov
- Yarigatake Sanso (槍ヶ岳山荘) Elevation not confirmed / 27 Apr – 3 Nov
- Yarisawa Lodge (槍沢ロッヂ) Elevation not confirmed / 27 Apr – 3 Nov
- Sessho-goya (殺生小屋) Elevation not confirmed / 6 Jun – 11 Oct
- Karasawa Hutte (涸沢ヒュッテ) Elevation not confirmed / 27 Apr – 3 Nov
- Chogatake Hutte (蝶ヶ岳ヒュッテ) Elevation not confirmed / 25 Apr – 3 Nov
Mountains
- Okuhotakadake (奥穂高岳) 3,190m
- Yarigatake (槍ヶ岳) 3,180m
- Kitahotakadake (北穂高岳) 3,106m
- Maehotakadake (前穂高岳) 3,090m
- Oyama (雄山) 3,003m
- Tsurugidake (剱岳) 2,999m
- Shiroumadake (白馬岳) 2,932m
- Nishihotakadake (西穂高岳) 2,909m
- Jonendake (常念岳) 2,857m
- Harinokidake (針ノ木岳) 2,821m
- Rengedake (蓮華岳) 2,799m
- Akaiwadake (赤岩岳) 2,769m
- Tsubakurodake (燕岳) 2,763m
- Karamatsudake (唐松岳) 2,696m
- Chougatake (蝶ヶ岳) 2,677m
- Jiigatake (爺ヶ岳) 2,670m
- Gakidake (餓鬼岳) 2,647m
- Eboshidake (烏帽子岳) 2,628m
- Kitakuzudake (北葛岳) 2,551m
Local basics
- Emergency number
- 110 (police) / 119 (fire and ambulance)
- Currency
- JPY
- Time zone
- Asia/Tokyo
- Difficulty scale
- Prefectural mountain grading (stamina 1–10, technical A–E)
- Route lines
- Paths in GSI (Japan) map data