Japan's mountain huts, stop by stop
How to get there, how long it takes,
and when the huts open for booking.
Popular choices
Choose your own filters
Length
Effort
Trail
Access
Area
When
Stamina and technical grades follow each prefecture's mountain grading (Nagano, Toyama, Gifu, Tochigi, Akita, Yamagata and others).
sorted for this time of year
How hard each route is (prefectural mountain grading), how to reach the trailhead by train and bus, how long it takes, and when each hut opens for booking — all with sources.
Right now ({m})
Seasons are the usual dates stated by each source. Check the source for this year's conditions.
Choose a route
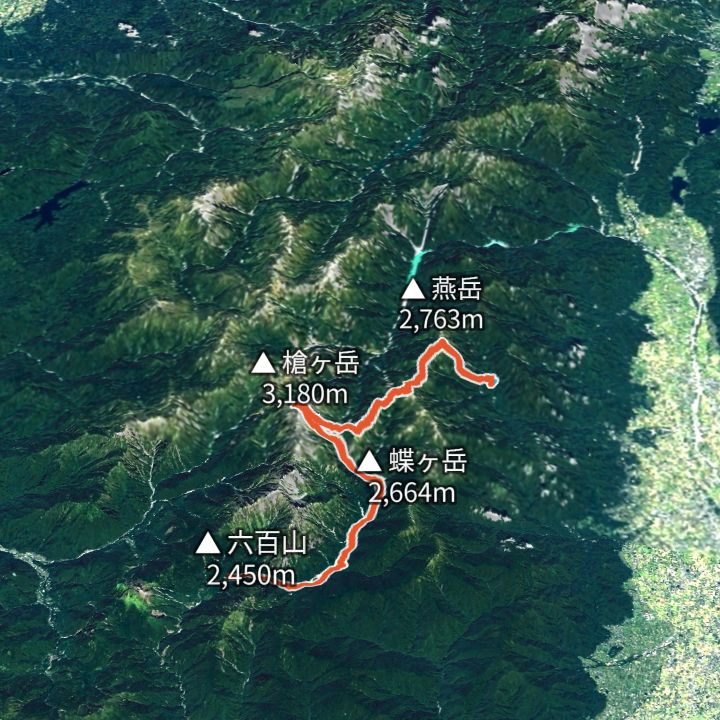 Map: GSI Japan, EOxCloudless 2025 (Copernicus Sentinel)
Yarigatake 3,180m
Omote-Ginza traverse (Nakabusa to Yari to Kamikochi)
The classic Northern Alps ridge line: up to Tsubakuro-dake, along to Daitenjo, the Higashi-Kama ridge to Yarigatake, then down the Yarisawa valley to Kamikochi.
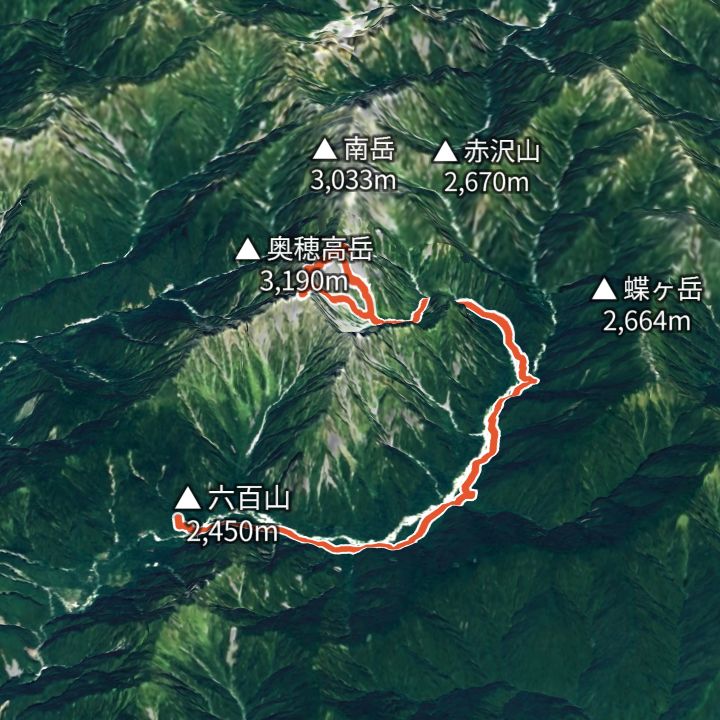 Map: GSI Japan, EOxCloudless 2025 (Copernicus Sentinel)
Okuhotakadake 3,190m
Karasawa Base: the Hotaka circuit
Walk in from Kamikochi to the Karasawa cirque, round Kita-Hotaka and Oku-Hotaka, then back down to Kamikochi.
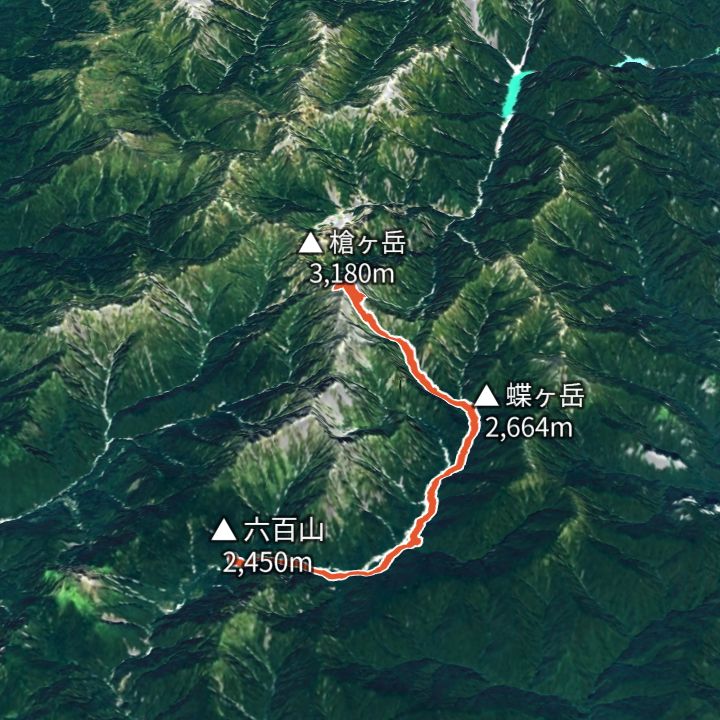 Map: GSI Japan, EOxCloudless 2025 (Copernicus Sentinel)
Yarigatake 3,180m
Yarisawa route (Kamikochi to Yarigatake and back)
The valley route to Yari: up the Azusa river to Yokoo, the Yarisawa ravine to the spire, and back the same way.
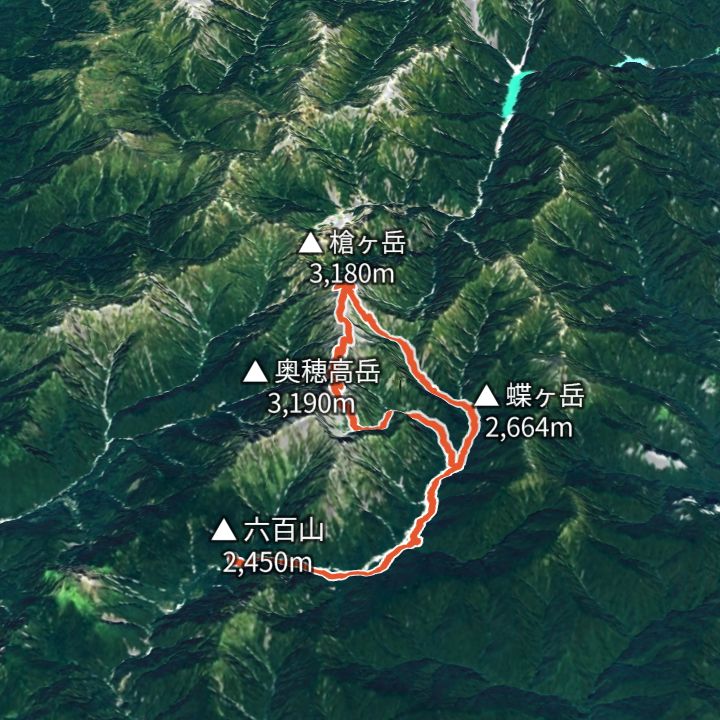 Map: GSI Japan, EOxCloudless 2025 (Copernicus Sentinel)
Yarigatake 3,180m
Daikiretto loop from Kamikochi (Kita-Hotaka to Yari)
From Kamikochi via Karasawa to Kita-Hotaka, over the Daikiretto notch to Minamidake and Yari, then down the Yarisawa valley to Kamikochi. The most exposed ridge in the range.
 Map: GSI Japan, EOxCloudless 2025 (Copernicus Sentinel)
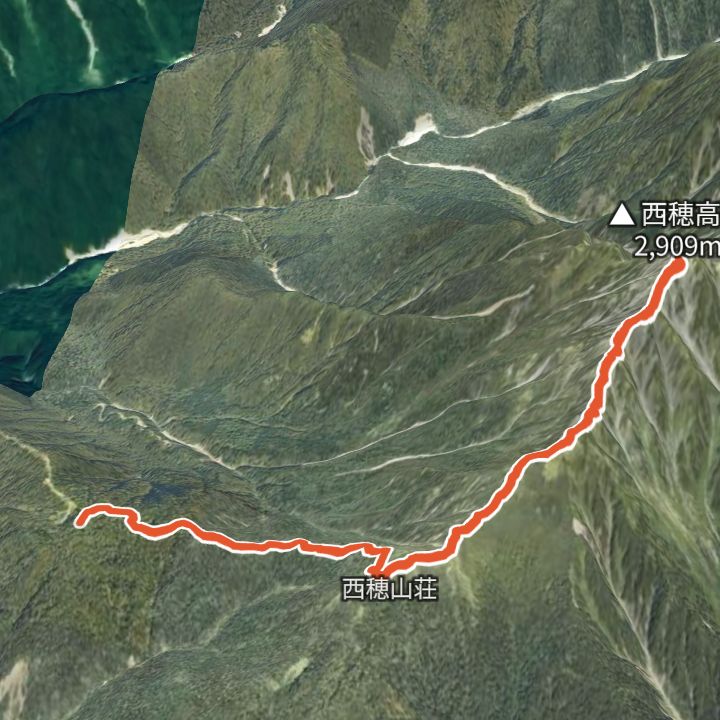
Nishihotakadake 2,909m
Nishihotakadake from the Shinhotaka Ropeway
Ride the Shinhotaka Ropeway up to Nishihotakaguchi (2,156 m), walk to Nishiho Sanso, then over the Dokuhyo knoll to the Nishihotakadake summit (2,909 m) and back the same way.
 Map: GSI Japan, EOxCloudless 2025 (Copernicus Sentinel)
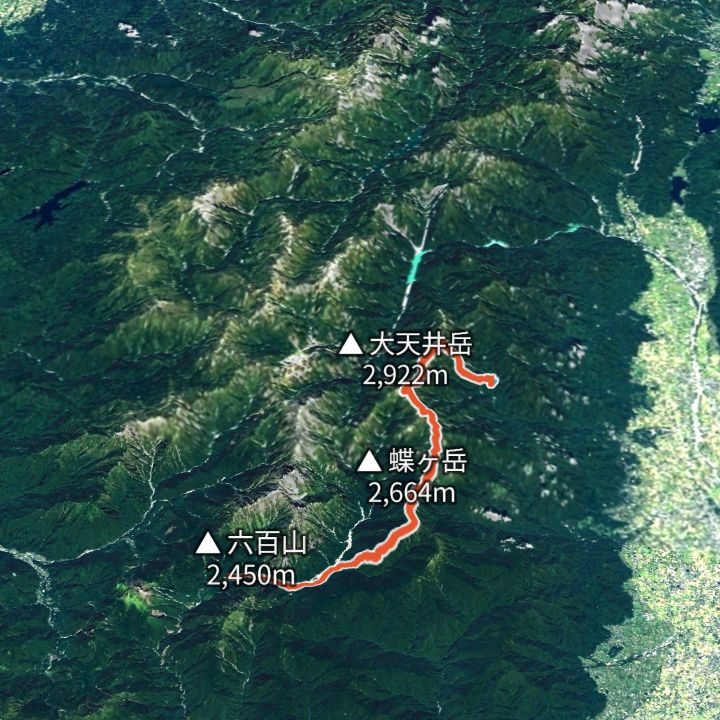
Daitenso 2,870m
Jonen ridge: Nakabusa to Kamikochi
The parallel ridge: Tsubakuro, Otensho, Jonen and Chogatake, facing Yari and Hotaka the whole way, then down to Tokusawa.
 Map: GSI Japan, EOxCloudless 2025 (Copernicus Sentinel)
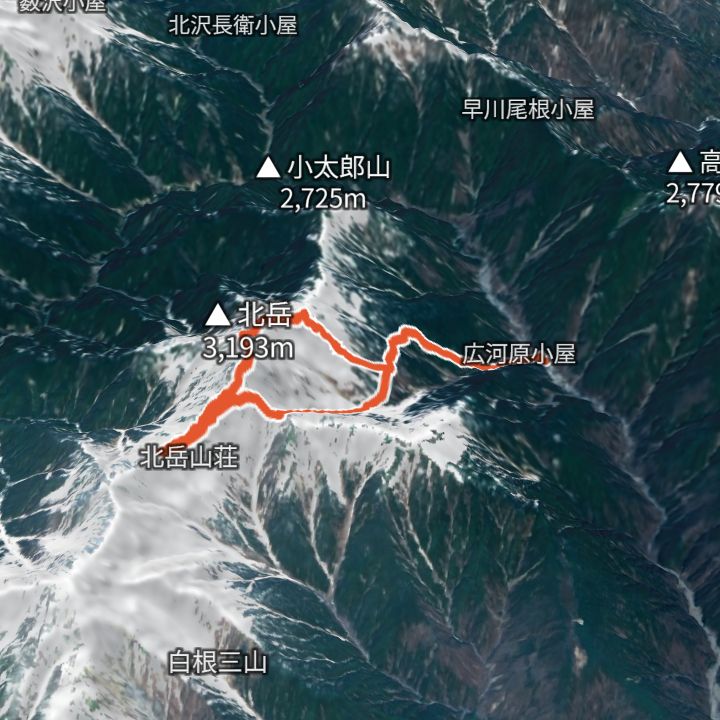
Kitadake 3,193m
Kitadake from Hirogawara
Up from Hirogawara past Shirane-Oike to the shoulder hut, over Kitadake (3,193 m) to Kitadake Sanso, then down via the Hachihonba col and the Okanba valley back to Hirogawara.
 Map: GSI Japan, EOxCloudless 2025 (Copernicus Sentinel)
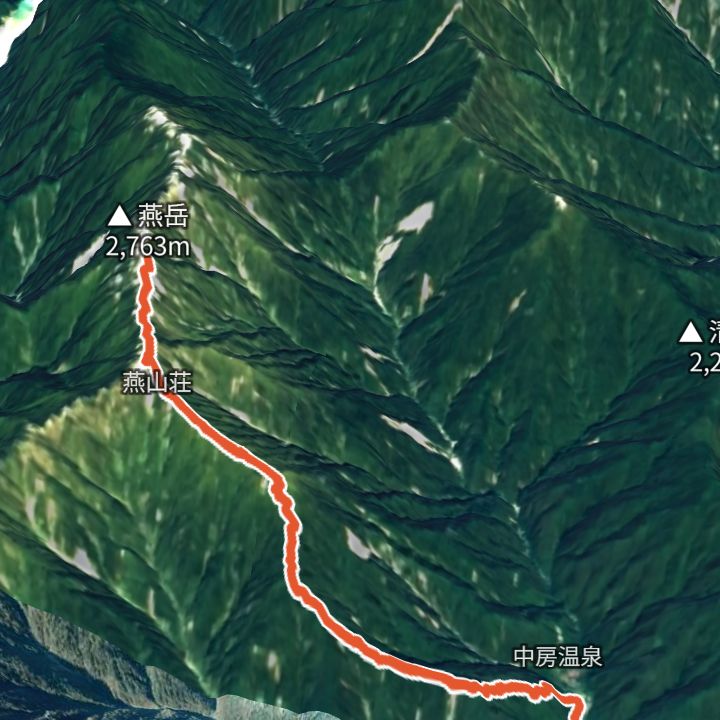
Tsubakurodake 2,763m
Tsubakurodake from Nakabusa Onsen
Up the Kassen ridge from Nakabusa Onsen to Enzanso, then out and back to the Tsubakurodake summit.
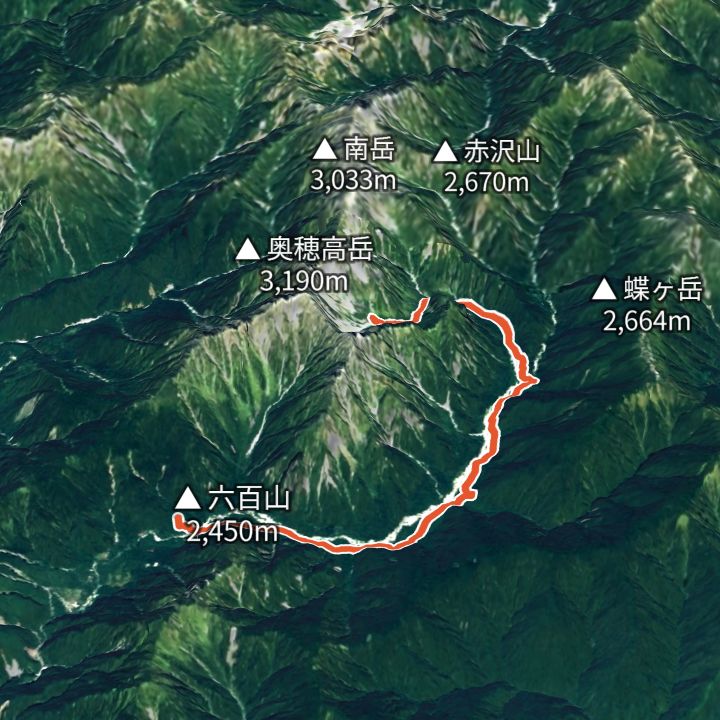 Map: GSI Japan, EOxCloudless 2025 (Copernicus Sentinel)
Karasawa-goya 2,350m
Karasawa from Kamikochi
Along the Azusa river from Kamikochi via Tokusawa and Yokoo, then up the Yokoo valley to the Karasawa cirque below the Hotaka walls.
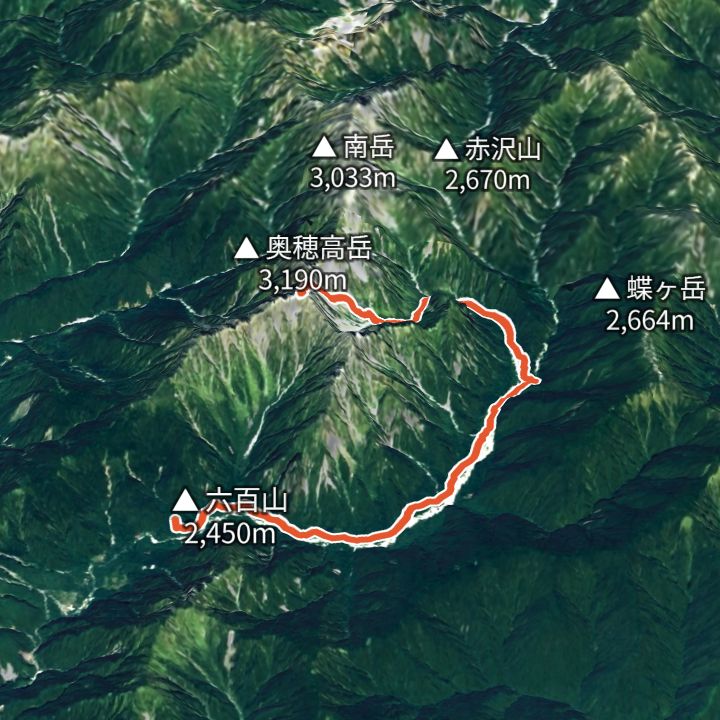 Map: GSI Japan, EOxCloudless 2025 (Copernicus Sentinel)
Okuhotakadake 3,190m
Okuhotakadake via Karasawa
From Kamikochi via Yokoo and Karasawa, up the Zaitengrat to Hotakadake Sanso, then out and back to the Okuhotakadake summit.
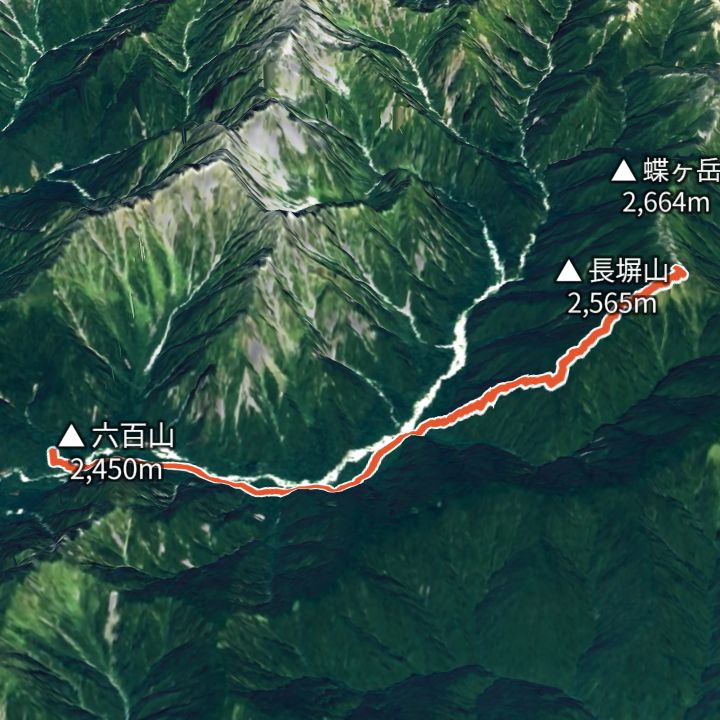 Map: GSI Japan, EOxCloudless 2025 (Copernicus Sentinel)
Chougatake 2,677m
Chougatake via the Nagakabe ridge
From Kamikochi to Tokusawa, then up the Nagakabe ridge to Chougatake Hutte, facing Yari and Hotaka across the valley.
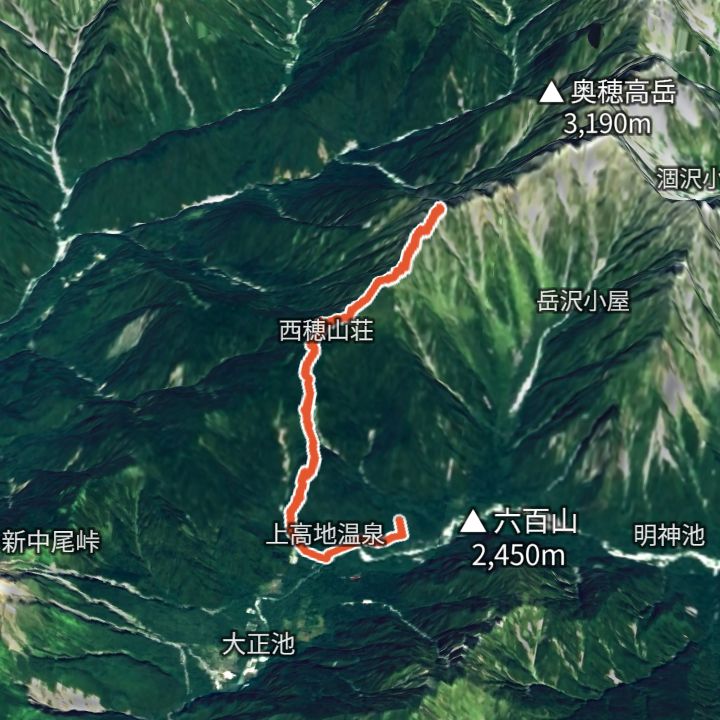 Map: GSI Japan, EOxCloudless 2025 (Copernicus Sentinel)
Nishihotakadake 2,909m
Nishihotakadake from Kamikochi
From Kamikochi up to Nishiho Sanso, then out and back to the Nishihotakadake summit.
 Map: GSI Japan, EOxCloudless 2025 (Copernicus Sentinel)
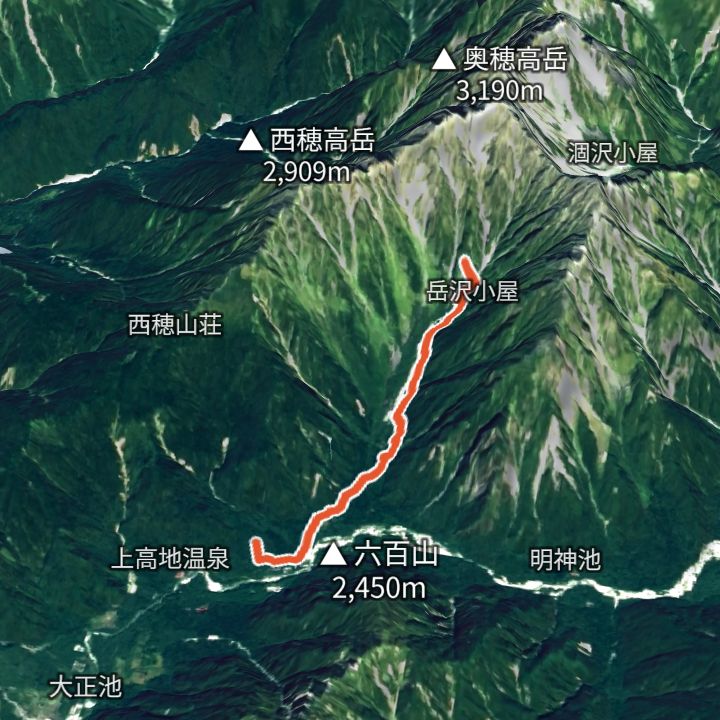
Kamikochi 1,500m
Dakesawa from Kamikochi
From Kamikochi up the Dakesawa valley to Dakesawa Goya, under the Hotaka walls.
 Map: GSI Japan, EOxCloudless 2025 (Copernicus Sentinel)
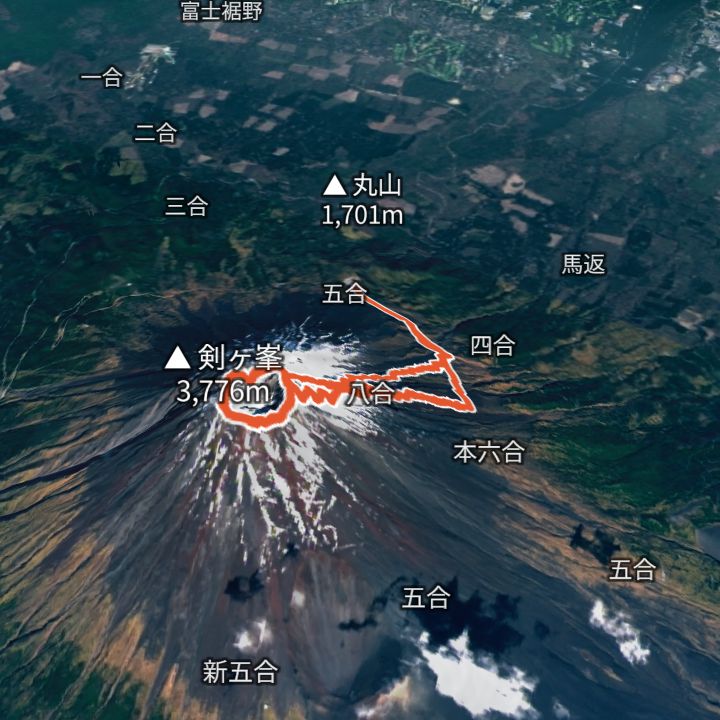
Mount Fuji (Kengamine) 3,776m
Mount Fuji by the Yoshida trail
From the Fuji Subaru Line 5th Station up the Yoshida trail to a hut around the 8th station, then on to the summit, round the crater rim past Kengamine (3,776 m), and back down the descent trail.
 Map: GSI Japan, EOxCloudless 2025 (Copernicus Sentinel)
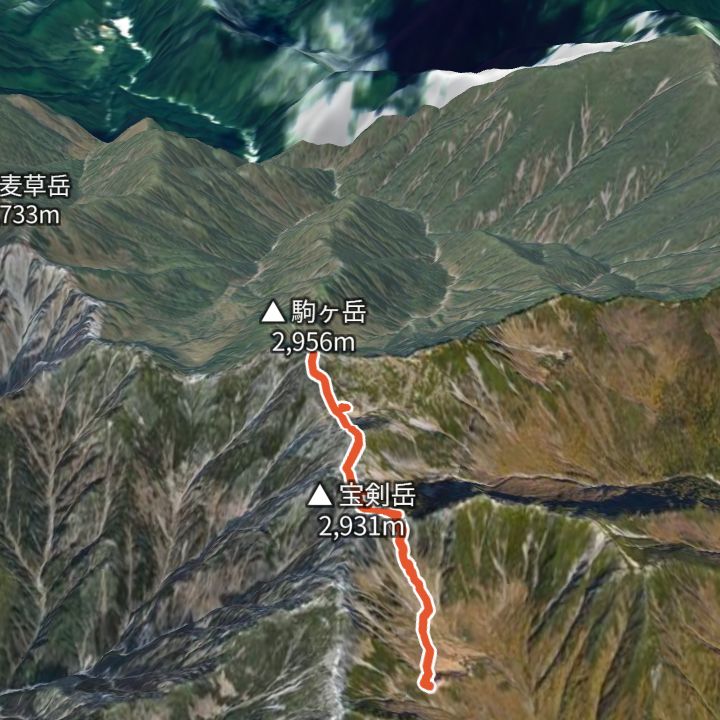
Kisokoma-ga-take 2,956m
Kisokoma-ga-take from the Senjojiki cirque
Ride the Komagatake Ropeway up to Senjojiki (2,612 m), climb out of the cirque to the ridge by Hoken Sanso and Tengu-so, cross Nakadake and reach Kisokoma-ga-take (2,956 m), then return the same way.
 Map: GSI Japan, EOxCloudless 2025 (Copernicus Sentinel)
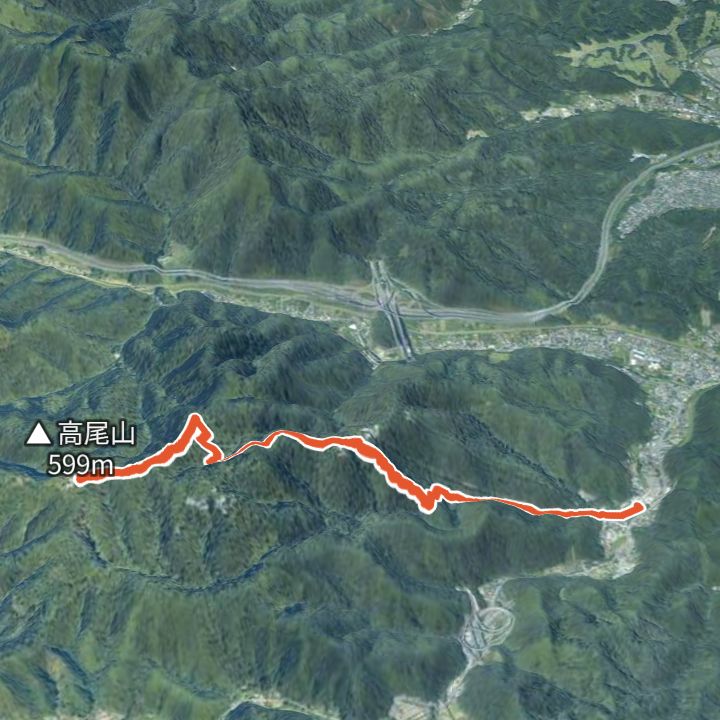
Mount Takao 599m
Mount Takao by the Omotesando (Trail 1)
From Takaosanguchi Station up the Omotesando (Trail 1) past Yakuoin temple to the summit of Mount Takao (599 m), and back the same way.
 Map: GSI Japan, EOxCloudless 2025 (Copernicus Sentinel)
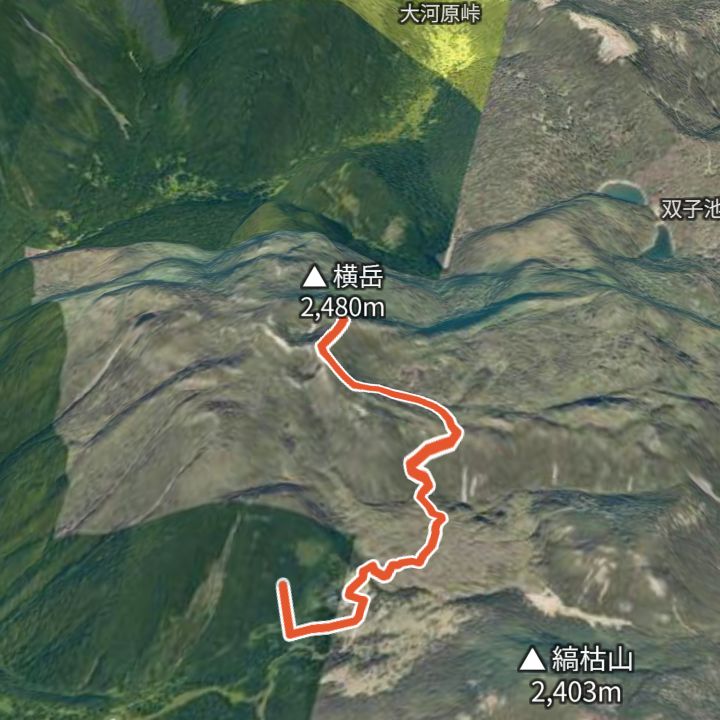
Kitayokodake 2,480m
Kitayokodake from the Kita-Yatsugatake Ropeway
Ride the ropeway to the top station (2,230 m), walk past the Tsuboniwa lava garden to Kitayokodake (2,480 m), and back.
 Map: GSI Japan, EOxCloudless 2025 (Copernicus Sentinel)
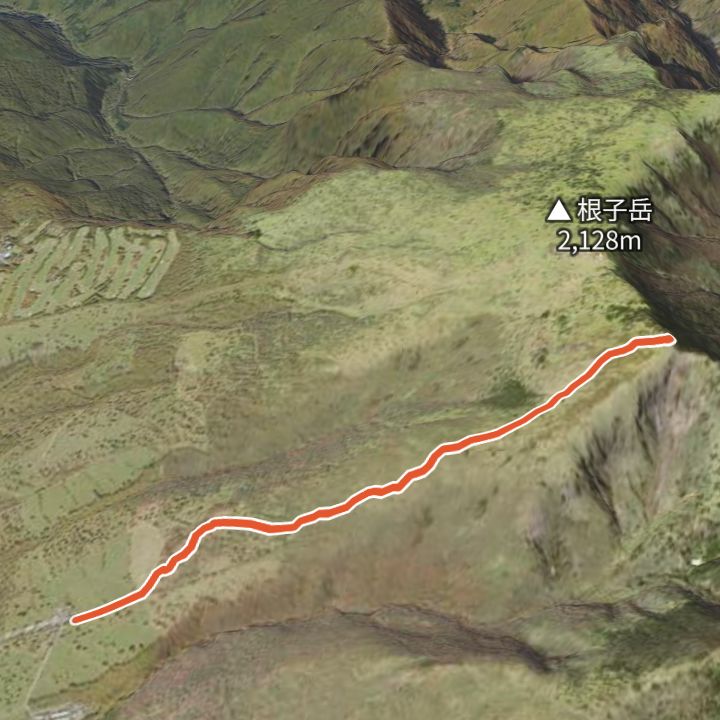
Nekodake 2,207m
Nekodake from Sugadaira Bokujo
From the Sugadaira ranch (1,590 m) up the grassy ridge to Nekodake (2,207 m), and back.
 Map: GSI Japan, EOxCloudless 2025 (Copernicus Sentinel)
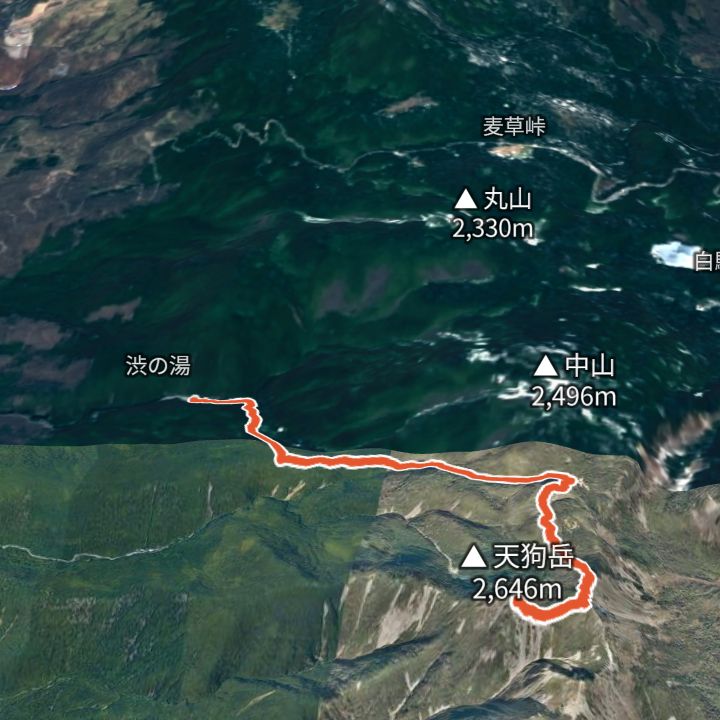
Nishi-Tengudake 2,646m
Tengudake from Shibu-no-yu
From Shibu-no-yu (1,840 m) up over Higashi-Tengu to Nishi-Tengu (2,646 m), and back.
 Map: GSI Japan, EOxCloudless 2025 (Copernicus Sentinel)
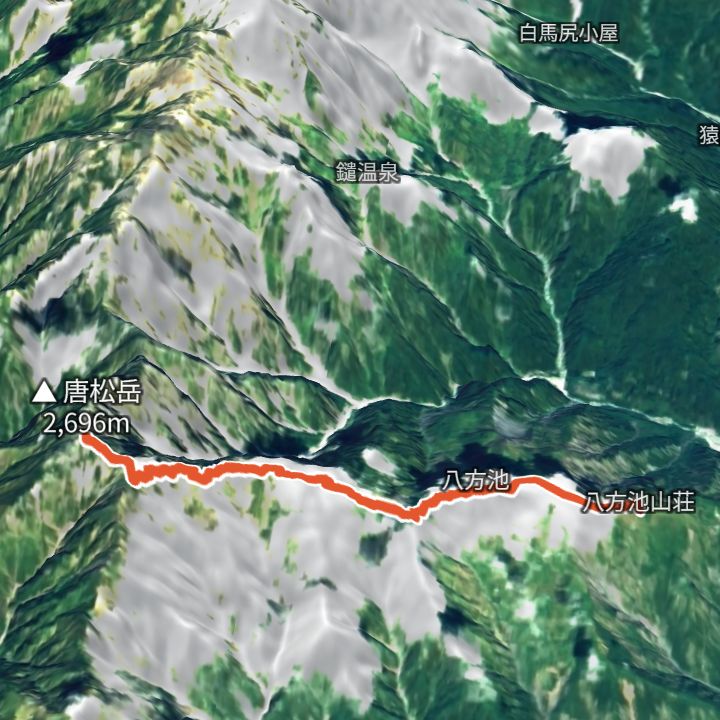
Karamatsudake 2,696m
Karamatsudake from Happo-ike Sanso
Ride the Happo Alpen Line (gondola and lifts) to Happo-ike Sanso, walk past Happo pond to Karamatsudake (2,696 m), and back.
 Map: GSI Japan, EOxCloudless 2025 (Copernicus Sentinel)
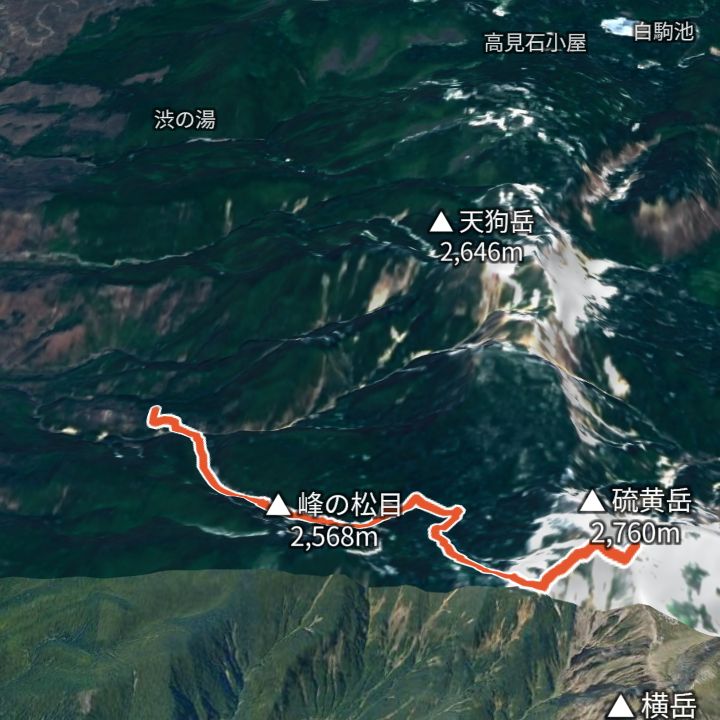
Iodake 2,760m
Iodake from Sakuradaira
From Sakuradaira (1,890 m) via Natsuzawa pass to Iodake (2,760 m) on the rim of an explosion crater, and back.
 Map: GSI Japan, EOxCloudless 2025 (Copernicus Sentinel)
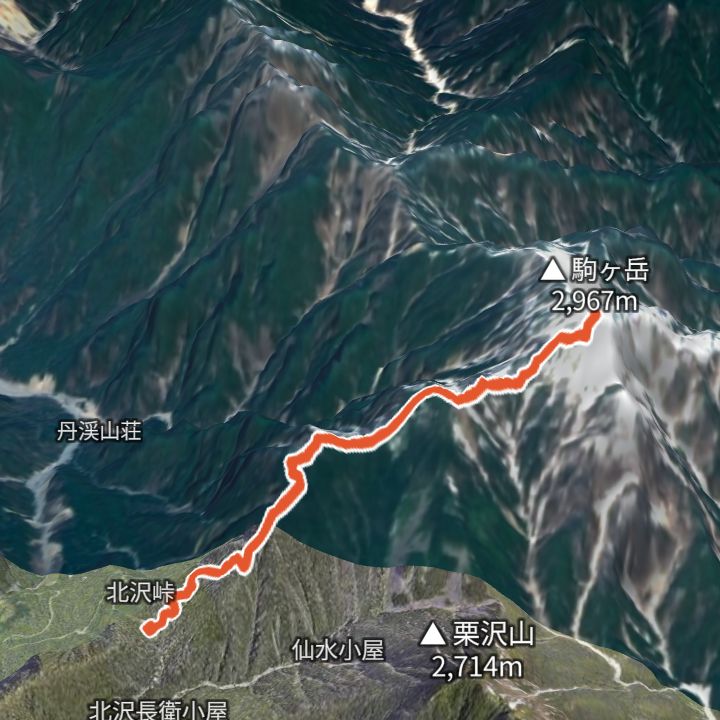
Kaikomagatake 2,967m
Kaikomagatake from Kitazawa Pass
From Kitazawa Pass (2,030 m) via Komatsumine to Kaikomagatake (2,967 m), and back. Nagano Prefecture advises planning an overnight stay because getting to the trailhead takes long.
 Map: GSI Japan, EOxCloudless 2025 (Copernicus Sentinel)
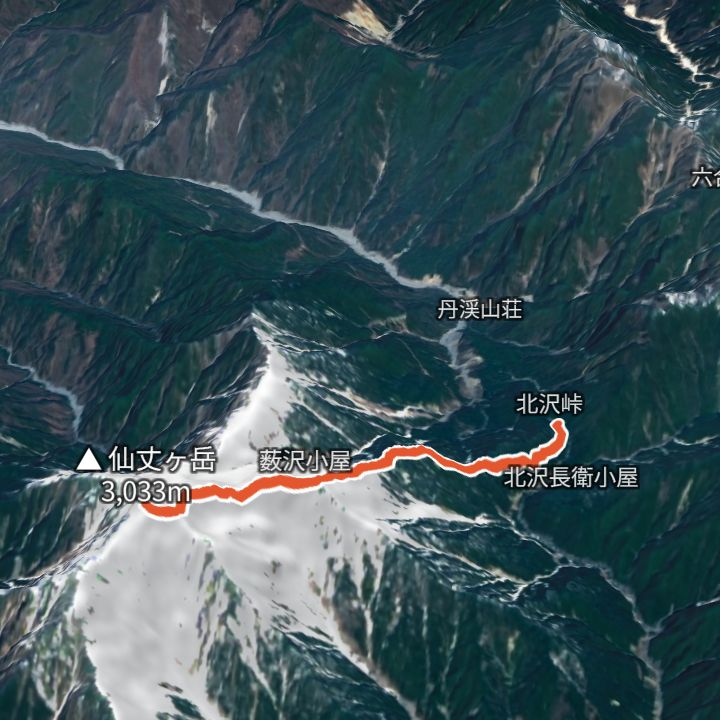
Senjogatake 3,033m
Senjogatake from Kitazawa Pass
From Kitazawa Pass (2,030 m) via Kosenjo to Senjogatake (3,033 m), and back. Nagano Prefecture advises planning an overnight stay because getting to the trailhead takes long.
 Map: GSI Japan, EOxCloudless 2025 (Copernicus Sentinel)
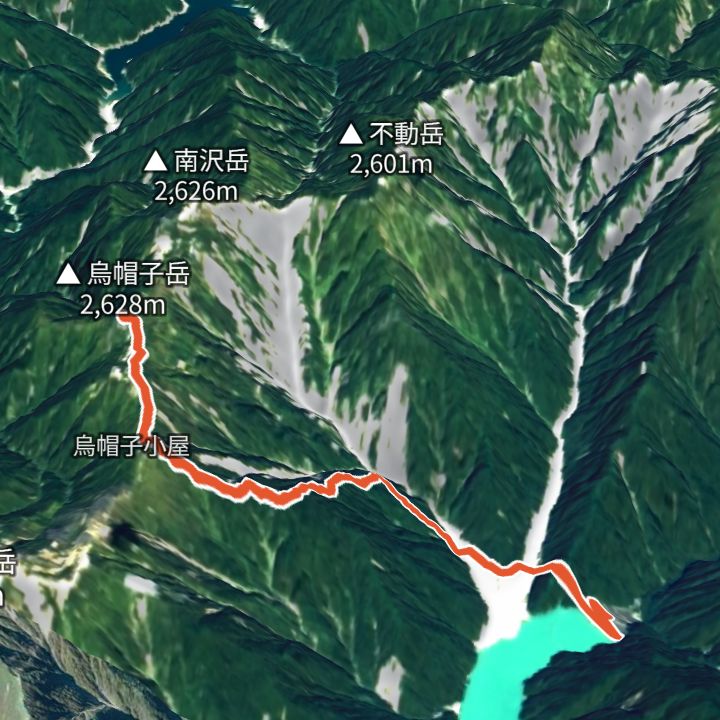
Eboshidake 2,628m
Eboshidake from Takase Dam
From Takase Dam (1,271 m) up to Eboshidake (2,628 m) and back the same way.
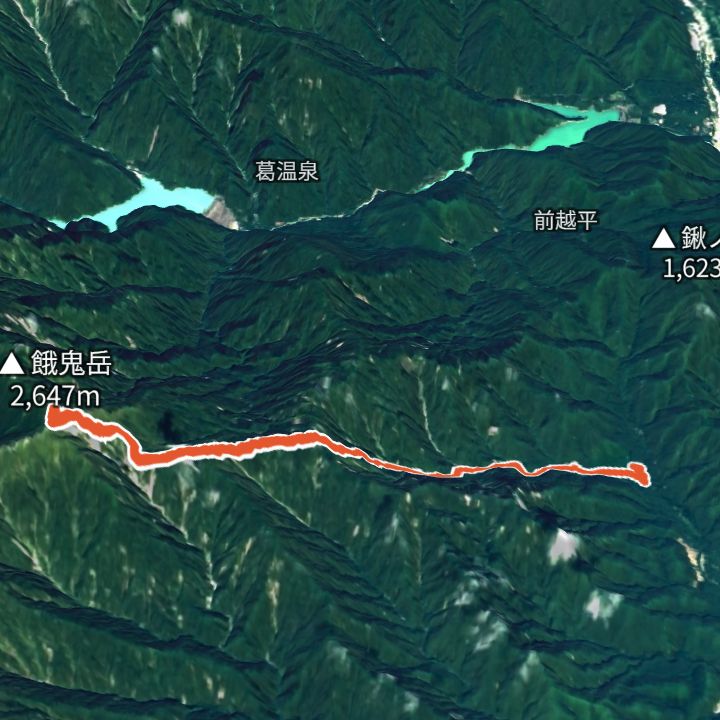 Map: GSI Japan, EOxCloudless 2025 (Copernicus Sentinel)
Gakidake 2,647m
Gakidake from Shirasawa trailhead
From Shirasawa trailhead (994 m) up to Gakidake (2,647 m) and back the same way.
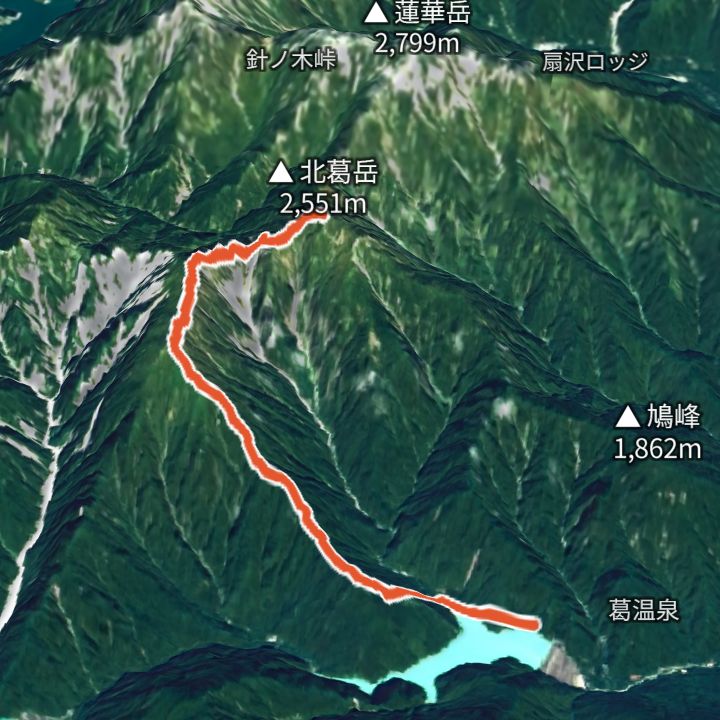 Map: GSI Japan, EOxCloudless 2025 (Copernicus Sentinel)
Kitakuzudake 2,551m
Kitakuzudake from Nanakura
From Nanakura (1,063 m) up to Kitakuzudake (2,551 m) and back the same way.
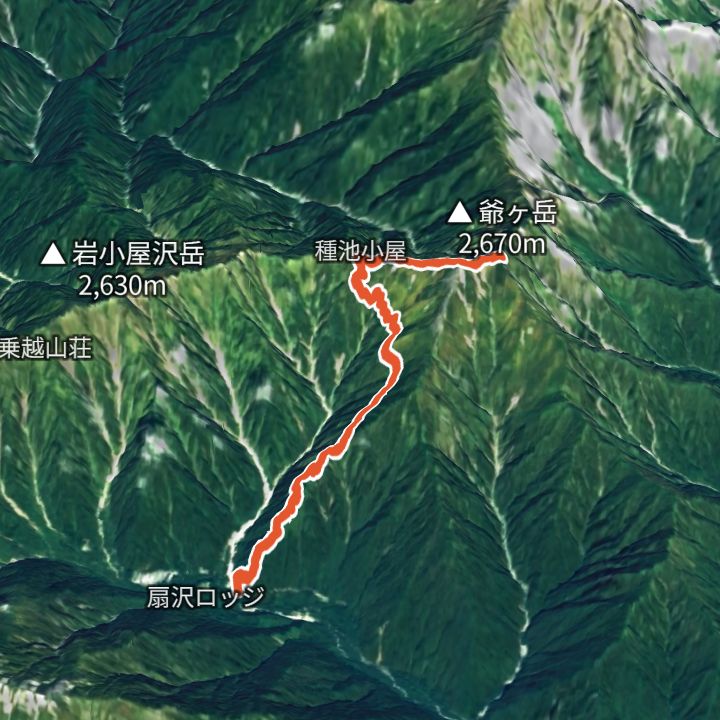 Map: GSI Japan, EOxCloudless 2025 (Copernicus Sentinel)
Jiigatake 2,670m
Jiigatake from Ogizawa (Jiigatake trailhead)
From Ogizawa (Jiigatake trailhead) (1,338 m) up to Jiigatake (2,670 m) and back the same way.
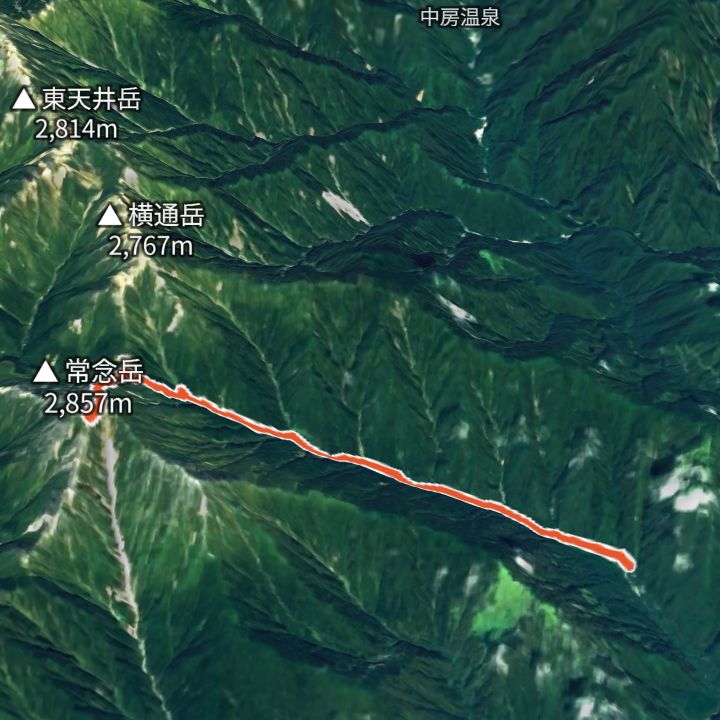 Map: GSI Japan, EOxCloudless 2025 (Copernicus Sentinel)
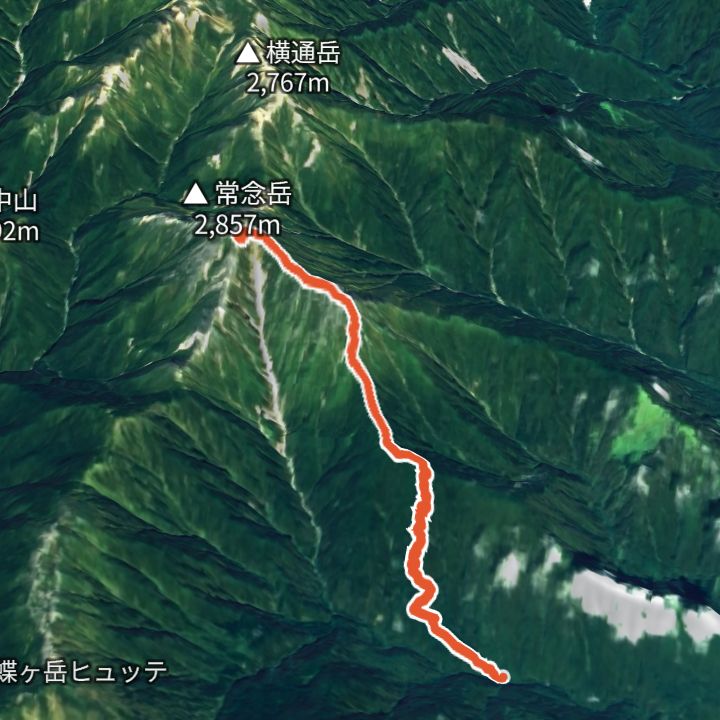
Jonendake 2,857m
Jonendake from Ichinosawa
From Ichinosawa (1,329 m) up to Jonendake (2,857 m) and back the same way.
 Map: GSI Japan, EOxCloudless 2025 (Copernicus Sentinel)
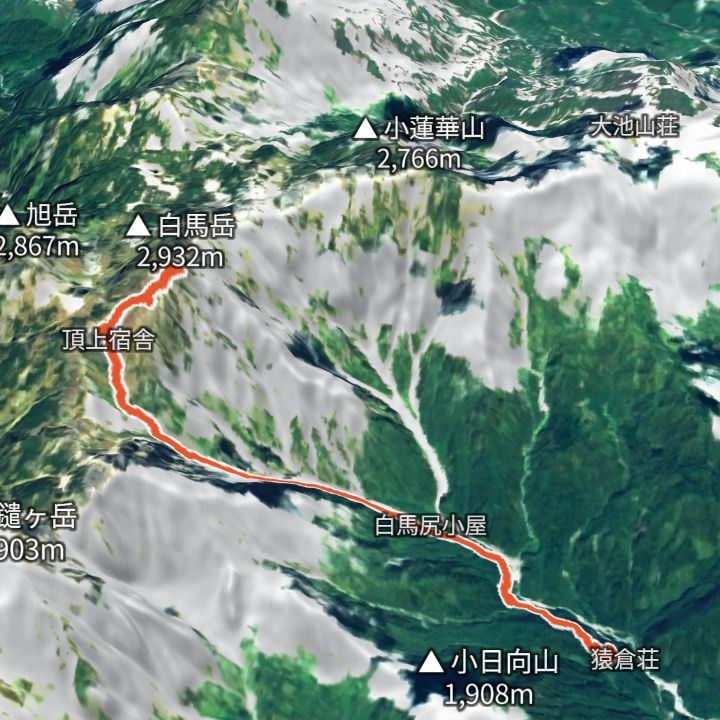
Jonendake 2,857m
Jonendake from Mitsumata
From Mitsumata (1,359 m) up to Jonendake (2,857 m) and back the same way.
 Map: GSI Japan, EOxCloudless 2025 (Copernicus Sentinel)
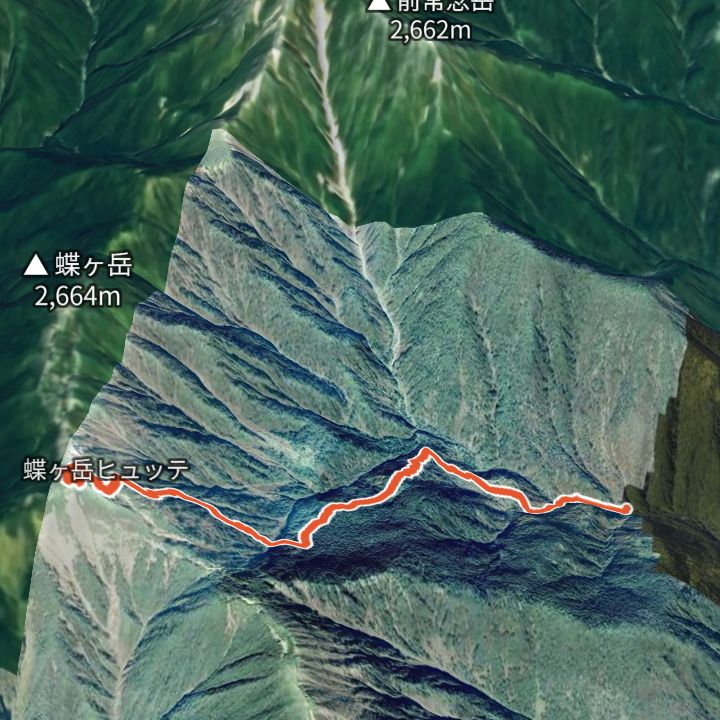
Shiroumadake 2,932m
Shiroumadake from Sarukura
From Sarukura (1,242 m) up to Shiroumadake (2,932 m) and back the same way.
 Map: GSI Japan, EOxCloudless 2025 (Copernicus Sentinel)
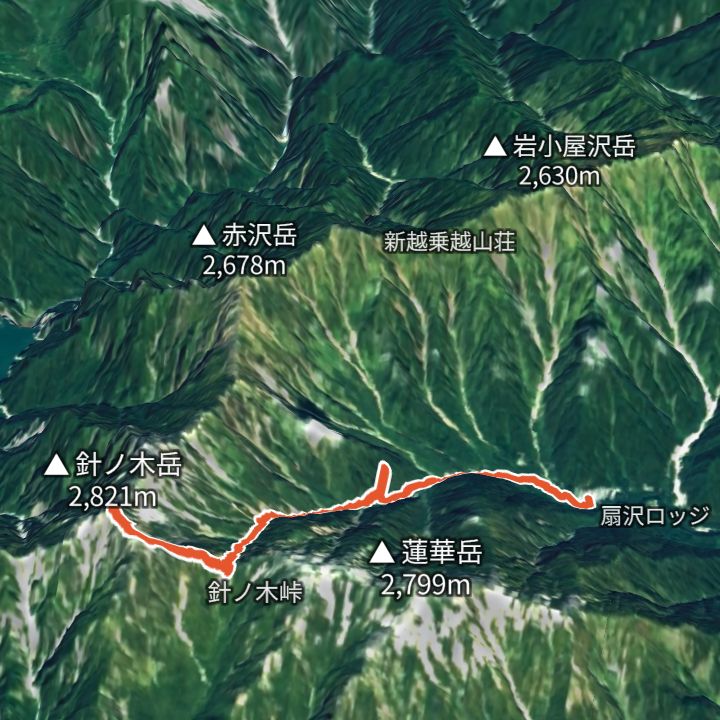
Chougatake 2,664m
Chougatake from Mitsumata
From Mitsumata (1,359 m) up to Chougatake (2,664 m) and back the same way.
 Map: GSI Japan, EOxCloudless 2025 (Copernicus Sentinel)
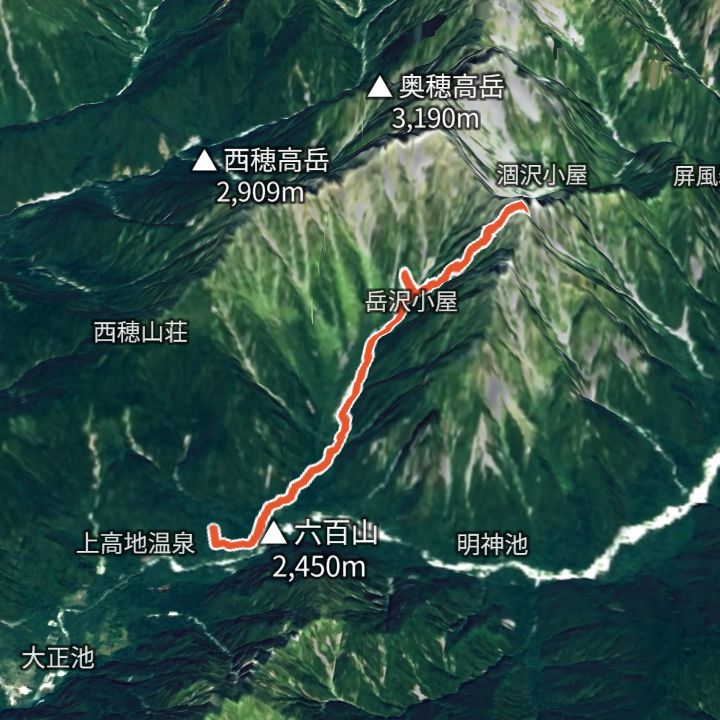
Harinokidake 2,821m
Harinokidake from Ogizawa
From Ogizawa (1,418 m) up to Harinokidake (2,821 m) and back the same way.
 Map: GSI Japan, EOxCloudless 2025 (Copernicus Sentinel)
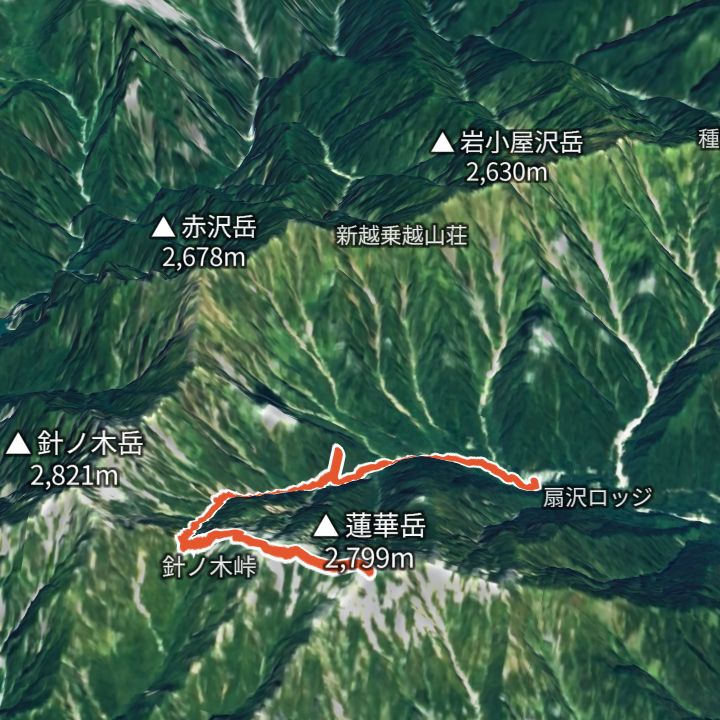
Maehotakadake 3,090m
Maehotakadake from Kamikochi
From Kamikochi (1,504 m) up to Maehotakadake (3,090 m) and back the same way.
 Map: GSI Japan, EOxCloudless 2025 (Copernicus Sentinel)
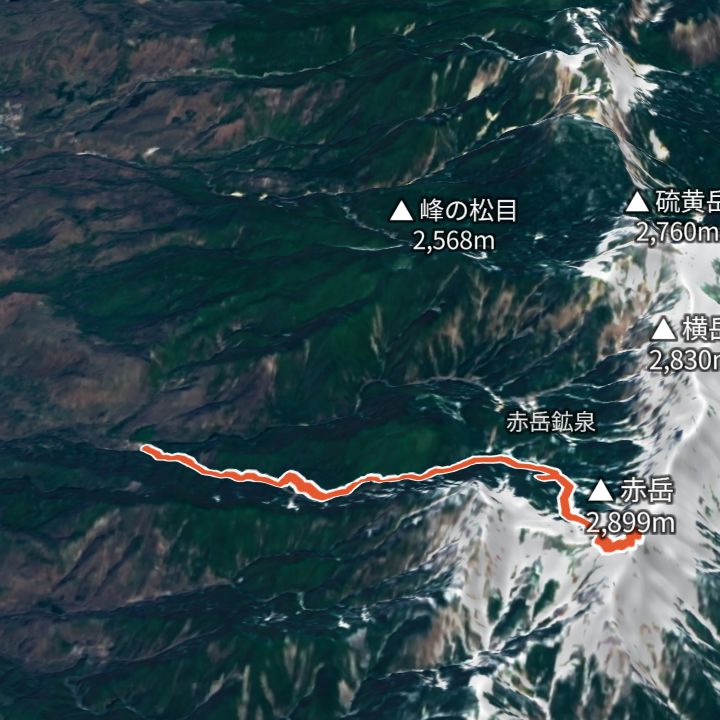
Rengedake 2,799m
Rengedake from Ogizawa
From Ogizawa (1,418 m) up to Rengedake (2,799 m) and back the same way.
 Map: GSI Japan, EOxCloudless 2025 (Copernicus Sentinel)
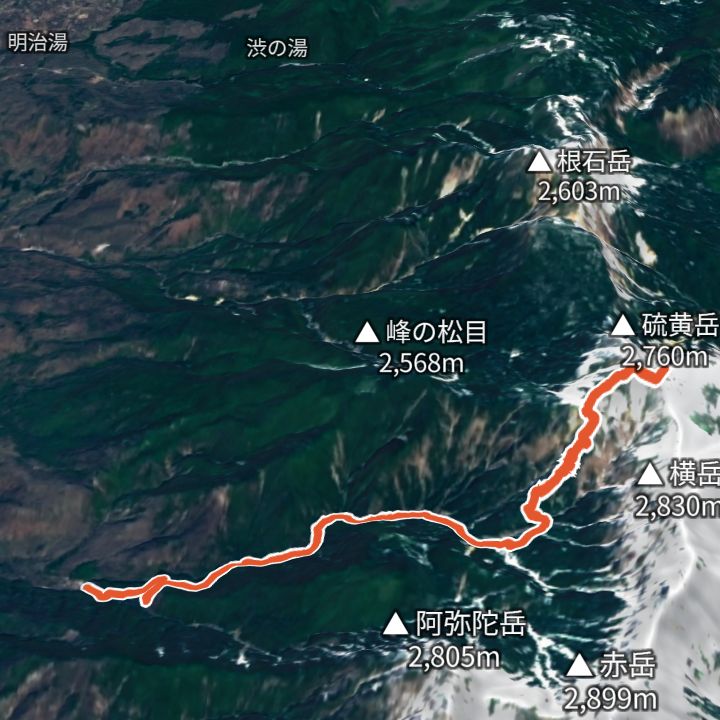
Akadake Chojo Sanso 2,899m
Akadake from Minoto
From Minoto (1,690 m) up to Akadake (2,899 m) and back the same way.
 Map: GSI Japan, EOxCloudless 2025 (Copernicus Sentinel)
Iodake 2,760m
Iodake from Minoto
From Minoto (1,690 m) up to Iodake (2,760 m) and back the same way.
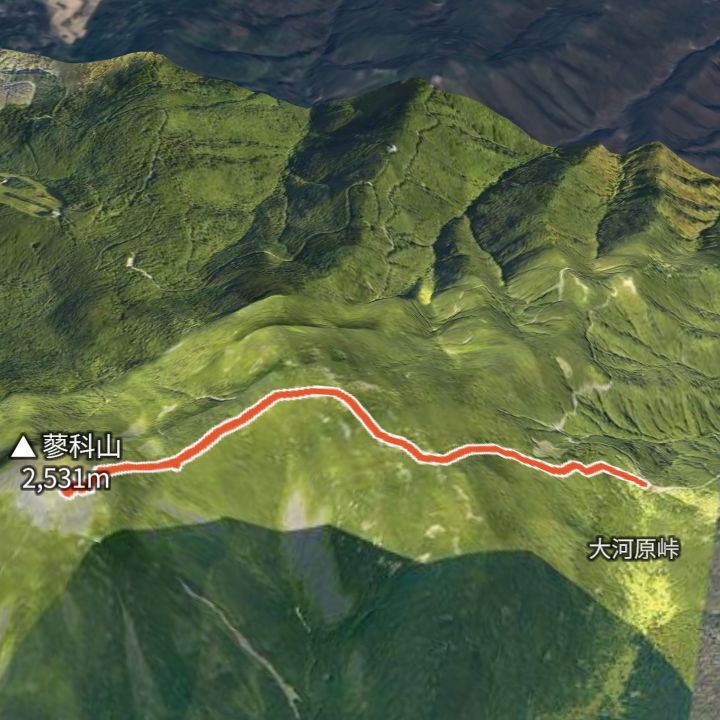 Map: GSI Japan, EOxCloudless 2025 (Copernicus Sentinel)
Tateshina Sancho Hutte 2,531m
Tateshinayama from Ogawara Pass
From Ogawara Pass (2,090 m) up to Tateshinayama (2,530 m) and back the same way.
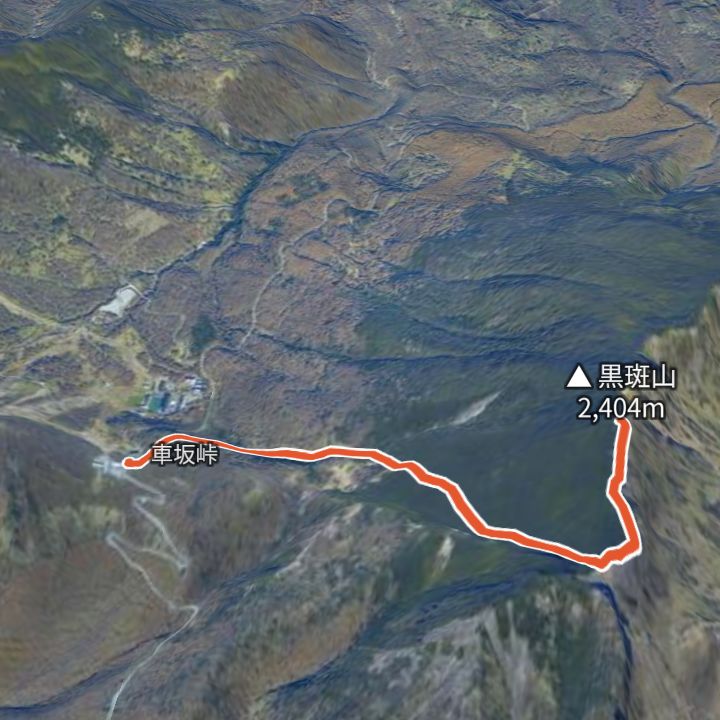 Map: GSI Japan, EOxCloudless 2025 (Copernicus Sentinel)
Kurofuyama 2,404m
Kurofuyama from Kurumazaka Pass
From Kurumazaka Pass (1,973 m) up to Kurofuyama (2,404 m) and back the same way.
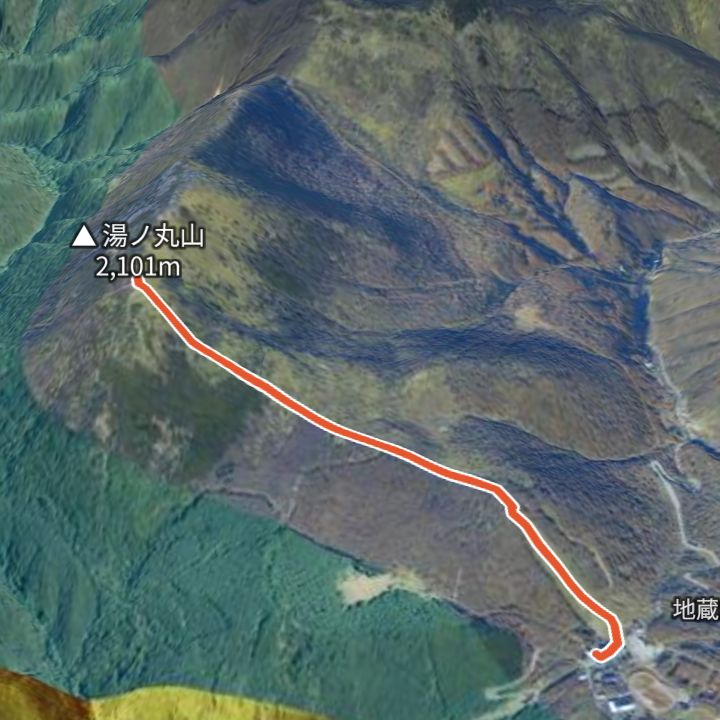 Map: GSI Japan, EOxCloudless 2025 (Copernicus Sentinel)
Yunomaruyama 2,101m
Yunomaruyama from Jizo Pass
From Jizo Pass (1,732 m) up to Yunomaruyama (2,101 m) and back the same way.
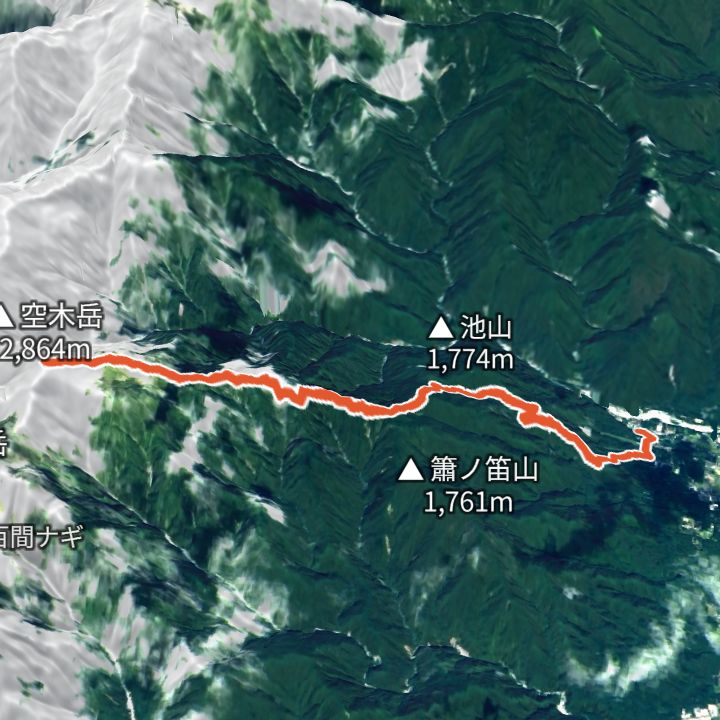 Map: GSI Japan, EOxCloudless 2025 (Copernicus Sentinel)
Utsugidake 2,864m
Utsugidake from Komagane Kogen
From Komagane Kogen (860 m) up to Utsugidake (2,864 m) and back the same way.
 Map: GSI Japan, EOxCloudless 2025 (Copernicus Sentinel)
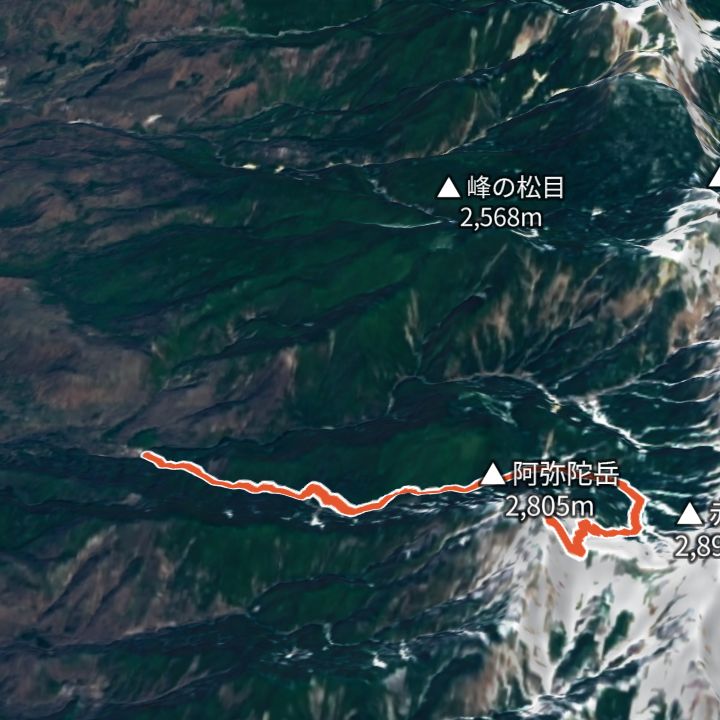
Amidadake 2,805m
Amidadake from Minoto
From Minoto (1,690 m) up to Amidadake (2,805 m) and back the same way.
 Map: GSI Japan, EOxCloudless 2025 (Copernicus Sentinel)
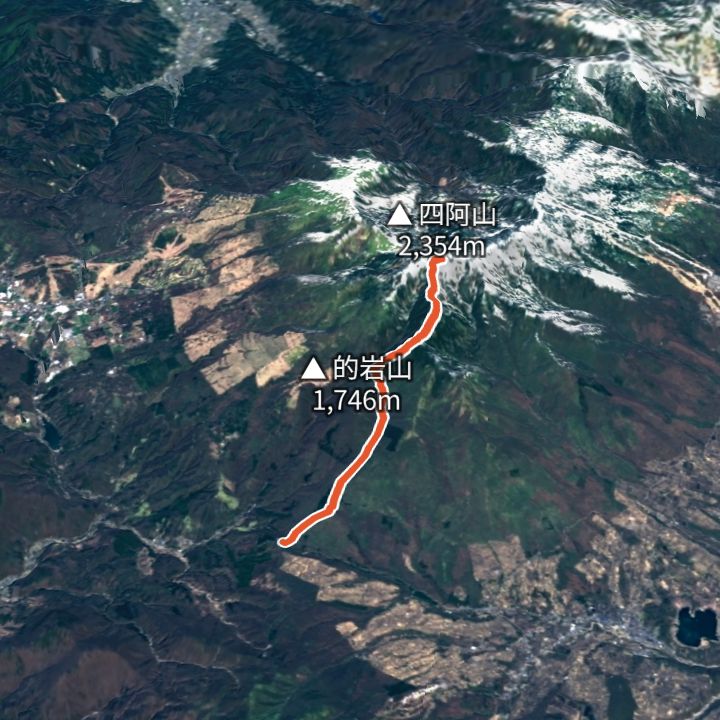
Azumayasan 2,354m
Azumayasan from Torii Pass
From Torii Pass (1,362 m) up to Azumayasan (2,354 m) and back the same way.
 Map: GSI Japan, EOxCloudless 2025 (Copernicus Sentinel)
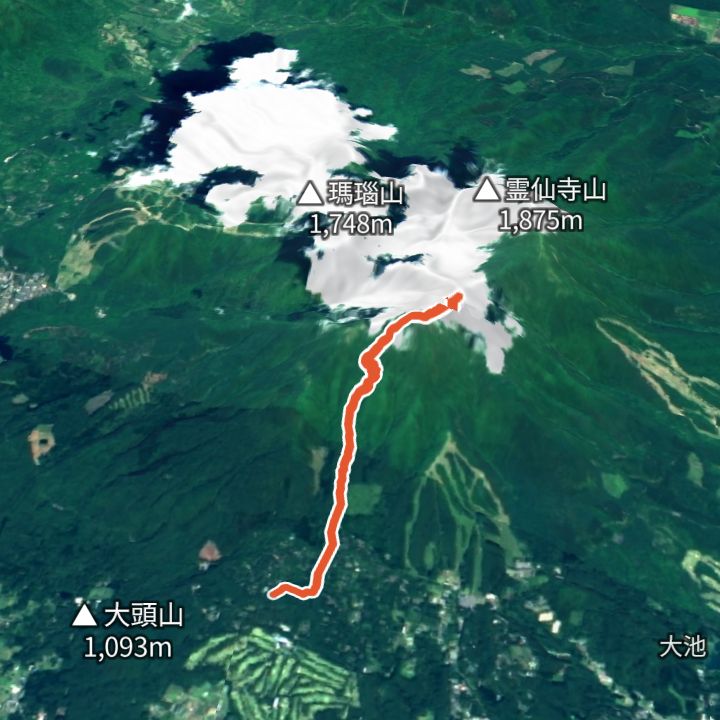
Iizunayama 1,917m
Iizunayama from Ichinotorii-enchi
From Ichinotorii-enchi (1,130 m) up to Iizunayama (1,917 m) and back the same way.
 Map: GSI Japan, EOxCloudless 2025 (Copernicus Sentinel)
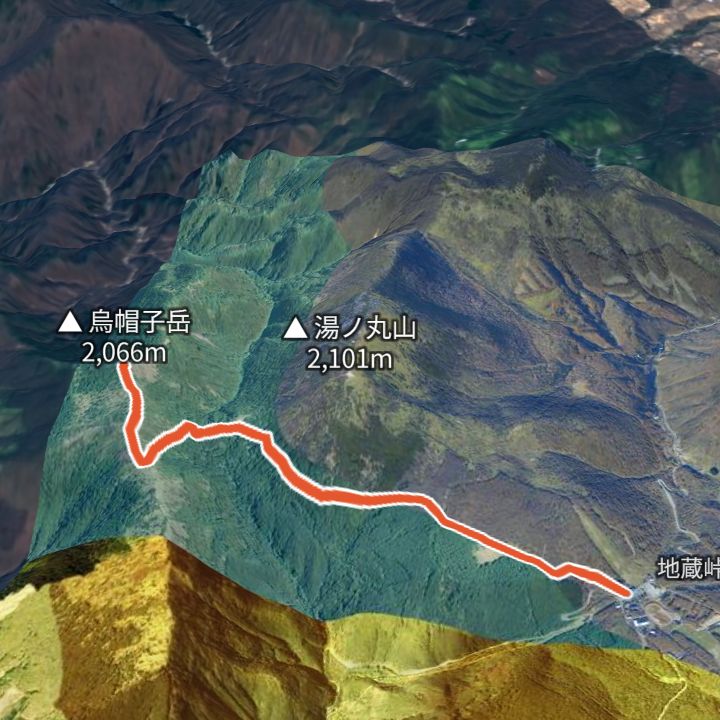
Eboshidake (Yunomaru) 2,066m
Eboshidake from Jizo Pass
From Jizo Pass (1,732 m) up to Eboshidake (2,066 m) and back the same way.
 Map: GSI Japan, EOxCloudless 2025 (Copernicus Sentinel)
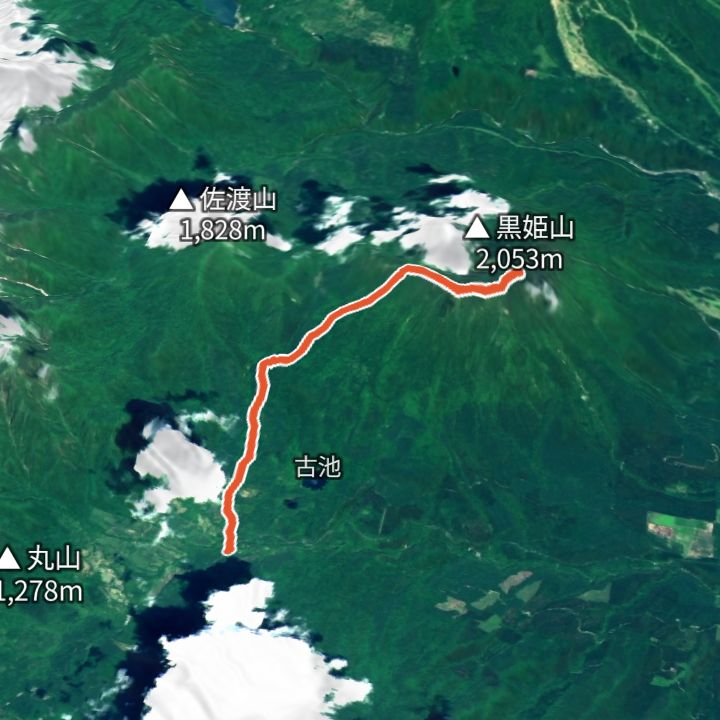
Kurohimeyama 2,053m
Kurohimeyama from Ohashi trailhead
From Ohashi trailhead (1,140 m) up to Kurohimeyama (2,053 m) and back the same way.
 Map: GSI Japan, EOxCloudless 2025 (Copernicus Sentinel)
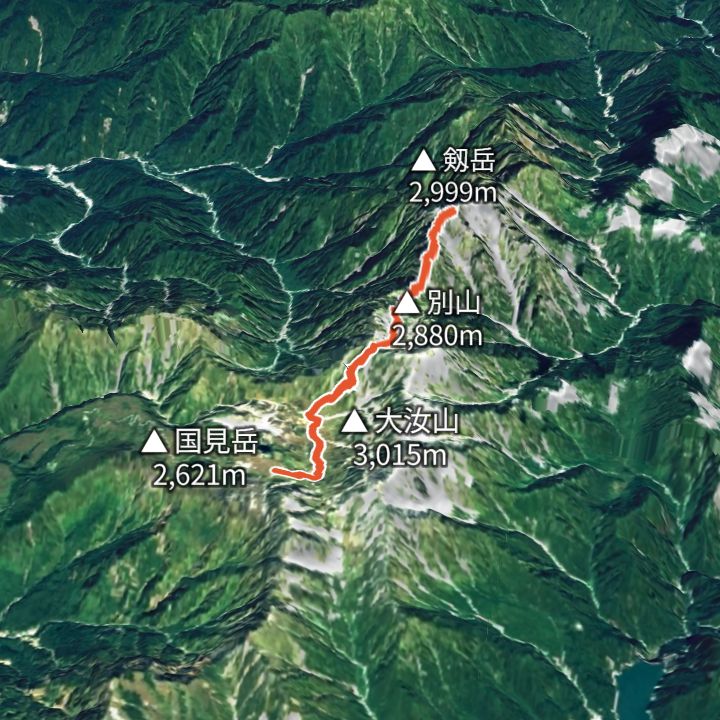
Tsurugidake 2,999m
Tsurugidake from Murodo Terminal
From Murodo Terminal (2,450 m) up the Betsuzan ridge to Tsurugidake (2,999 m) and back the same way.
 Map: GSI Japan, EOxCloudless 2025 (Copernicus Sentinel)
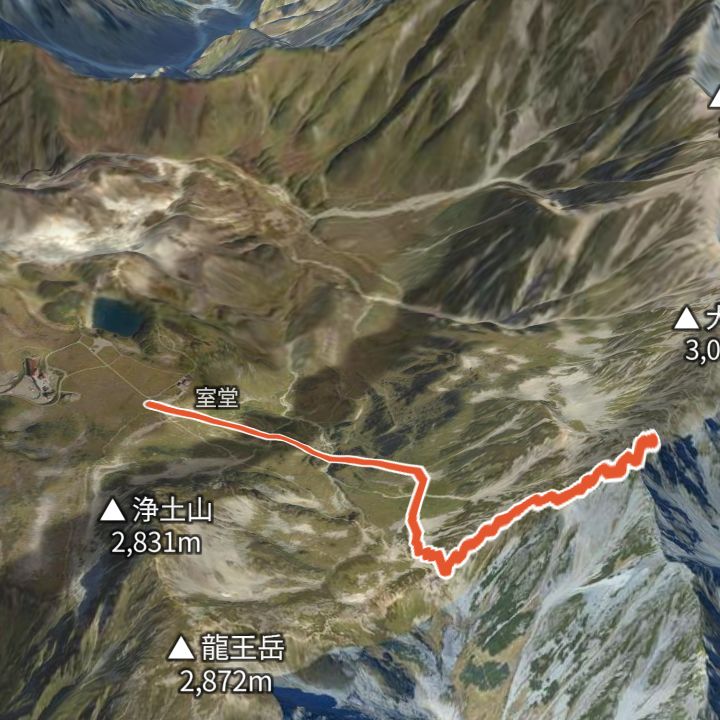
Oyama 3,003m
Oyama from Murodo Terminal
From Murodo Terminal (2,450 m) via Ichinokoshi up to Oyama (3,003 m), the main summit of Tateyama, and back the same way.
 Map: GSI Japan, EOxCloudless 2025 (Copernicus Sentinel)
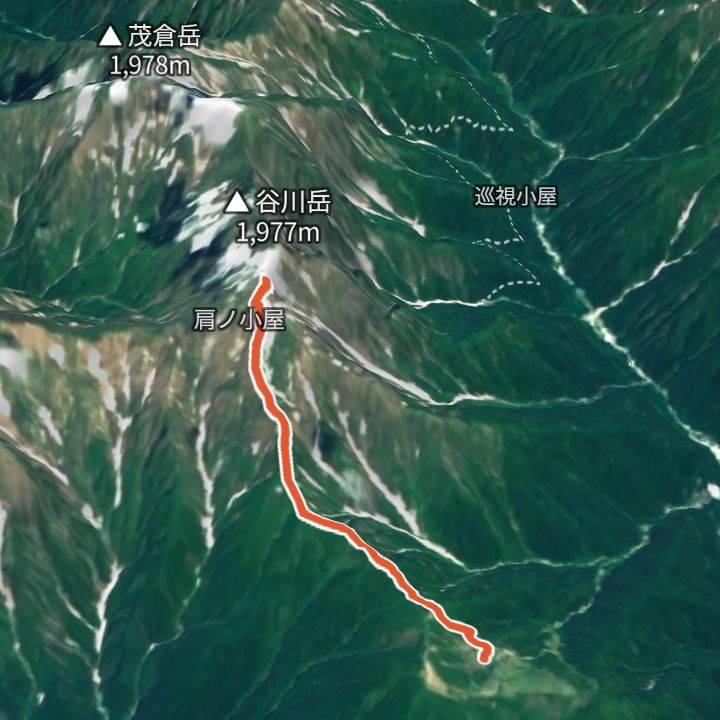
Tanigawadake 1,963m
Tanigawadake from Tenjindaira
From Tenjindaira (1,313 m, reached by ropeway) up the Tenjin ridge to Toma-no-Mimi (1,963 m) on Tanigawadake and back the same way.
 Map: GSI Japan, EOxCloudless 2025 (Copernicus Sentinel)
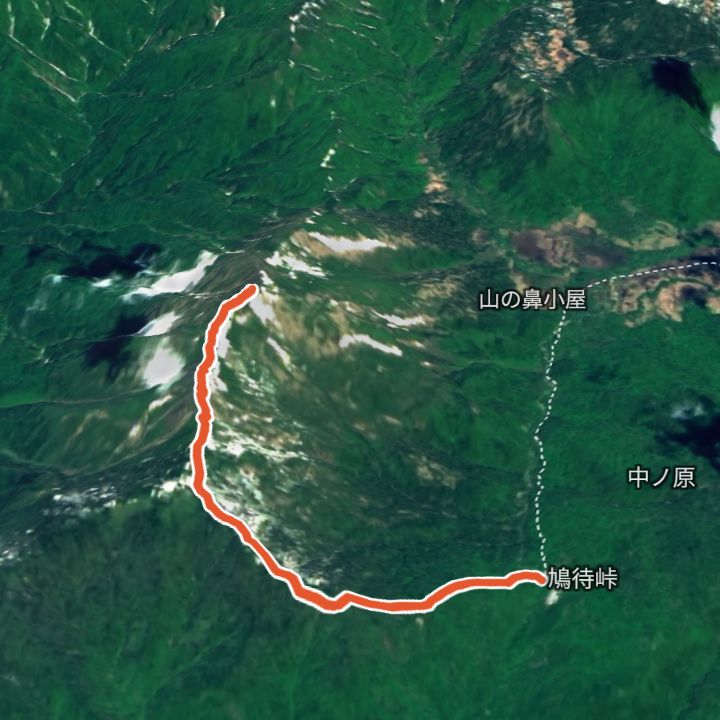
Shibutsusan 2,228m
Shibutsusan from Hatomachi Pass
From Hatomachi Pass (1,592 m) up to Shibutsusan (2,228 m) in Oze and back the same way.
 Map: GSI Japan, EOxCloudless 2025 (Copernicus Sentinel)
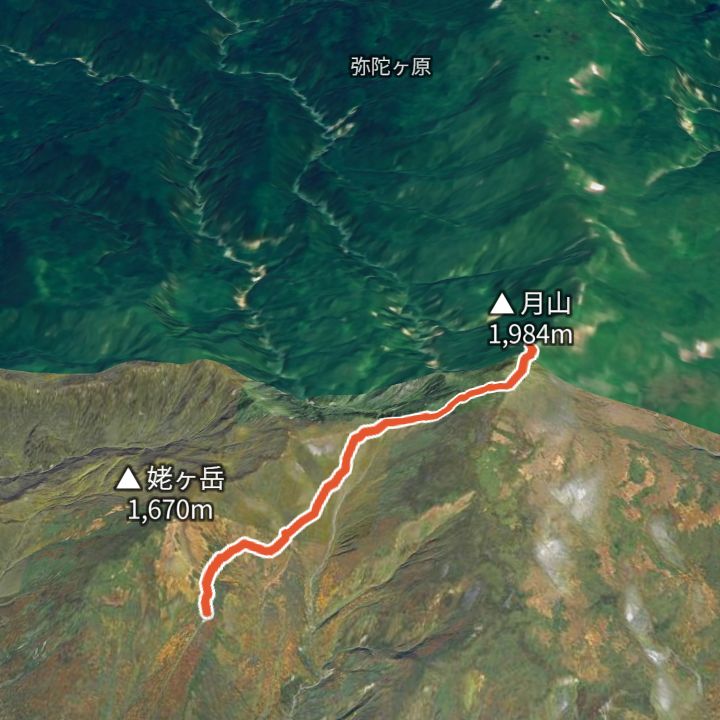
Gassan 1,984m
Gassan from Gassan lift top station
From the Gassan lift top station (1,520 m) up to Gassan (1,984 m) and back the same way.
 Map: GSI Japan, EOxCloudless 2025 (Copernicus Sentinel)
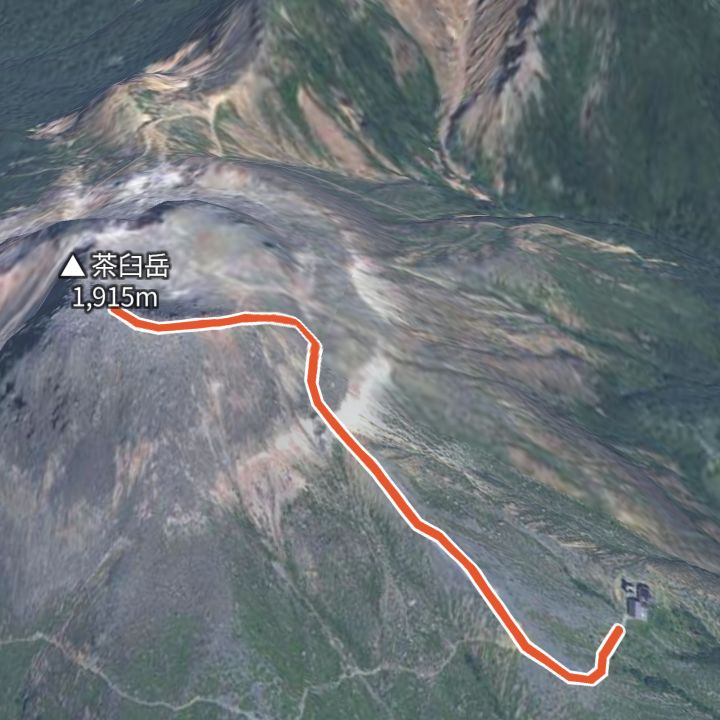
Chausudake (Nasu) 1,915m
Chausudake from Nasu Ropeway top station
From the Nasu Ropeway top station (1,688 m) up to Chausudake (1,915 m) in Nasu and back the same way.
 Map: GSI Japan, EOxCloudless 2025 (Copernicus Sentinel)
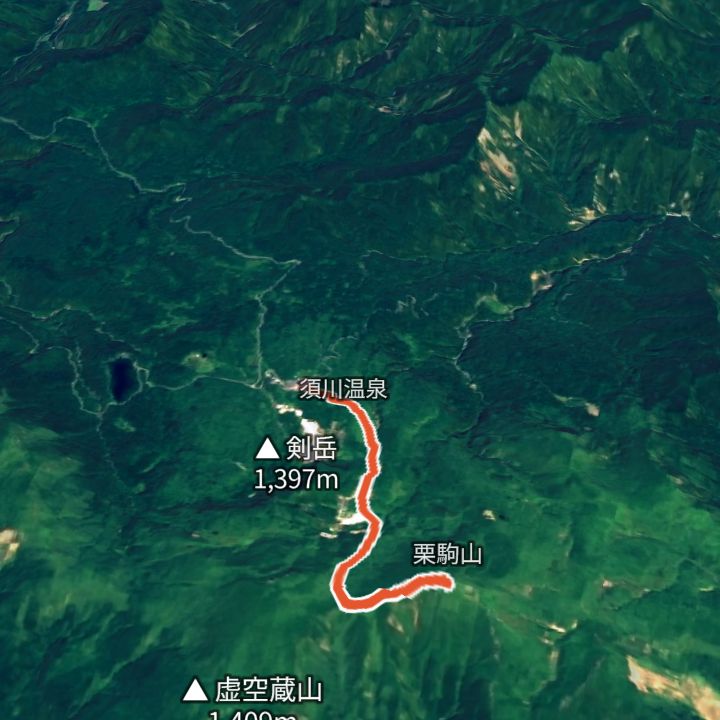
Kurikomayama 1,626m
Kurikomayama from Sukawa Onsen
From Sukawa Onsen (1,114 m) up to Kurikomayama (1,626 m) and back the same way. Part of the Sukawa trail was closed because of volcanic gas and reopened on 18 July 2026 (Iwate Prefecture).
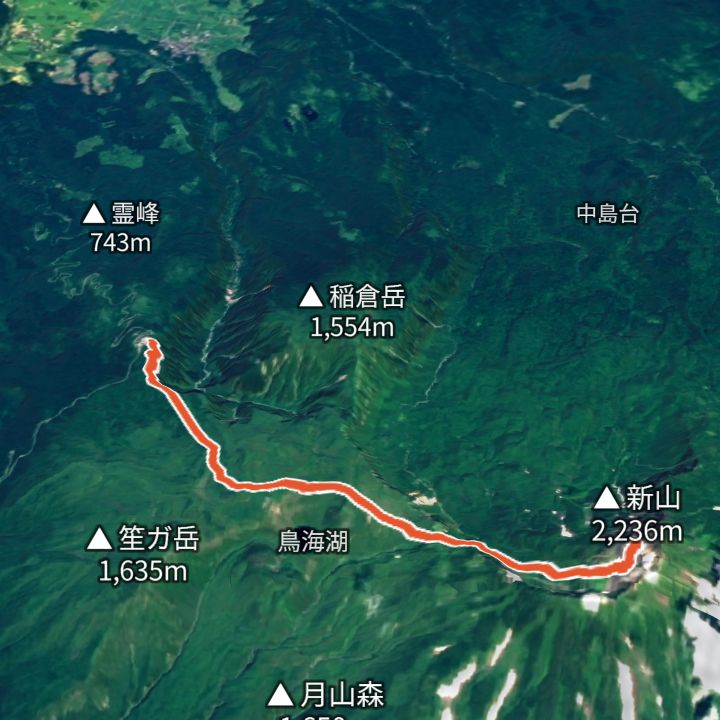 Map: GSI Japan, EOxCloudless 2025 (Copernicus Sentinel)
Chokaisan 2,236m
Chokaisan from Hokodate
From Hokodate (1,160 m) up to Shinzan (2,236 m), the summit of Chokaisan, and back the same way.
More routes are being added. If yours is not here, you can also search by filter.
Browse by range
What we check
- OfficialWhat we confirmed on official sites, with the date we checked
- UnofficialSecond-hand information is marked as such
- Not confirmedWe never fill gaps with guesses
You book directly with the hut. We take no commission and add no booking fee. Sources and how we check